The Ultimate Step-By-Step Video Post-Production Workflow | A Complete Beginner’s Guide to Streamlined Video Editing Process | Da Vinci Resolve Tutorial
Prologue
Our readers often ask us about our video post-production workflow and the tools that we use for video editing. To be honest, years back, when I started my videography journey, video post-production was completely an uncharted territory for me. And today, I’m glad to say I've trained myself in video editing, color correction, visual effects, motion graphics, and audio post-production on DaVinci Resolve Studio, the #1 post-production solution for Hollywood that has been used for color grading and/or editing of feature films like Alien: Covenant, Avatar, Best of Enemies, Jason Bourne, Kingsman: The Golden Circle, La La Land, Love & Mercy, Pirates of the Caribbean, Prometheus, Robin Hood, Spectre, Star Wars: The Last Jedi, X-Men: Apocalypse, and many more. I have created a structured video post-production workflow for myself that I thought of sharing with you today. So, let the journey begin!
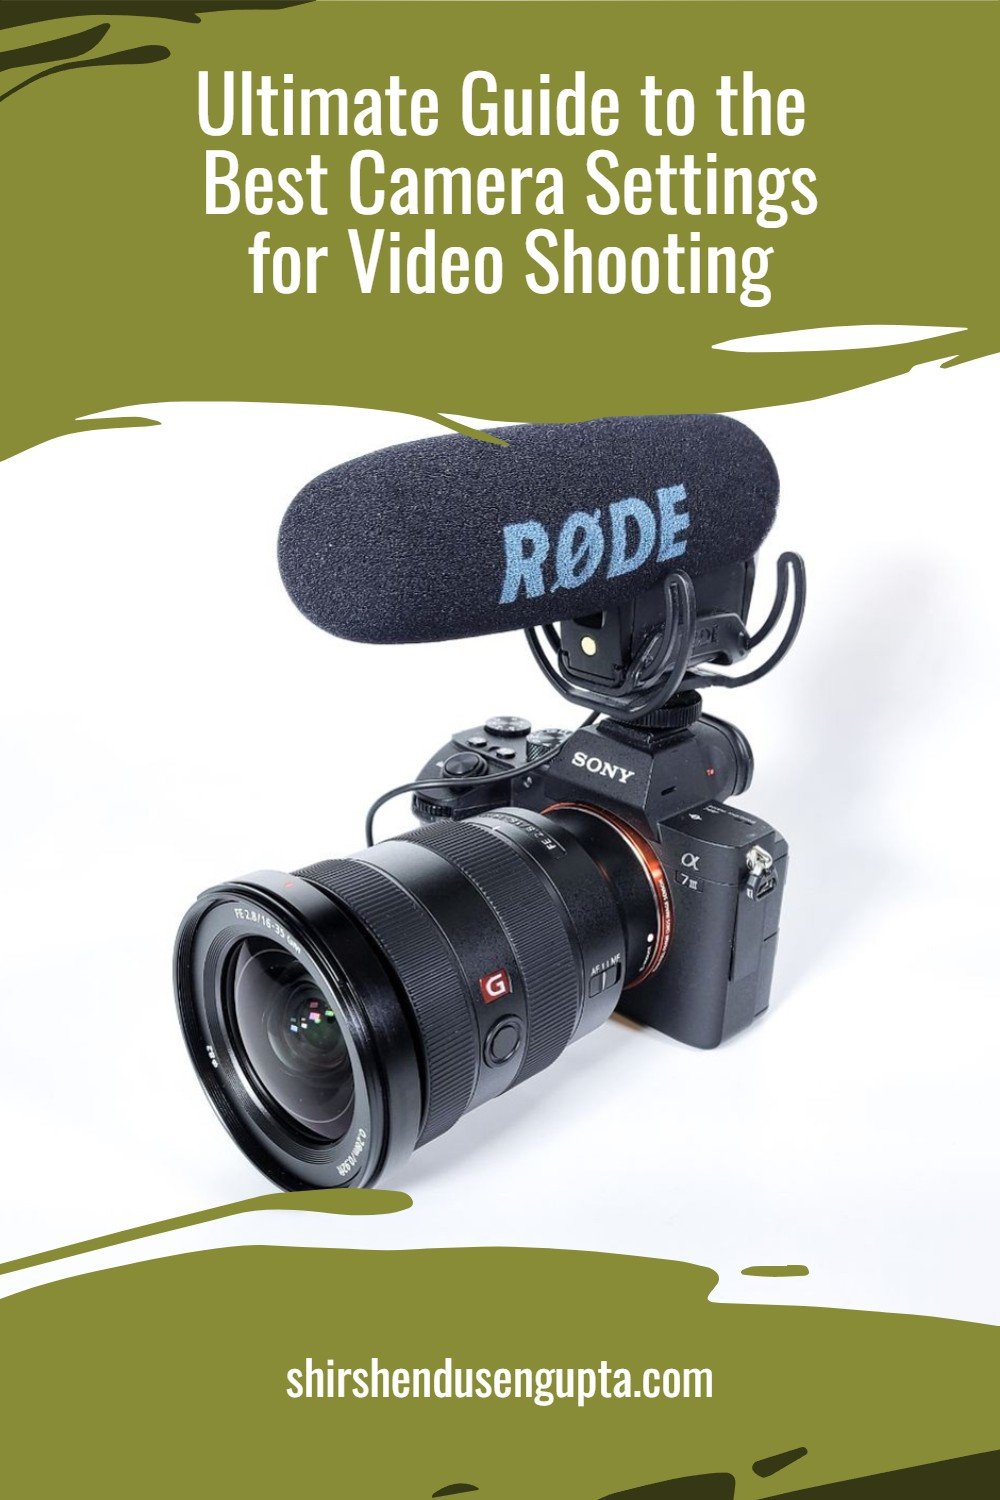
But before you get into the ‘Post-Production’ workflow, you first need to learn about the ‘Production’ itself, i.e. capturing the video clips with the right settings like the resolution, frame rate, and audio to ensure you can later play around with those in the post-production. To know more about the right settings for capturing video clips, please read our article Ultimate Guide to the Best Camera Settings for Video Shooting.
My Step-by-Step Video Post-Production Workflow
1. Download and Install Da Vinci Resolve
Professionals and amateurs alike have been showing a growing interest in DaVinci Resolve in recent years. Thanks to the consistently updated feature set and surprisingly strong free edition, the program is currently more widely used than before. Along with a full suite of easy-to-use video editing tools, you'll also have workspaces for compositing visual effects and mixing audio. Apart from the free version, there is a paid Studio edition which’s the one I own. But the interface looks exactly the same and 99% of the features that you will need which I’ve explained in the steps below are available in the free version. So don’t worry and start off with the free version!
To know more about Da Vinci Resolve and how to download it, please read the article Our Post-Processing Tools.
2. Launch the Project Manager Page
Create Project
When you launch Da Vinci Resolve for the first time, the Project Manager page will be displayed.
Click on New Project -> Enter the name of the project -> Create
Project Settings
Once the project is created, click on the Settings Cogwheel icon at the bottom right of the screen ->
Master Settings Tab
Timeline Format
Timeline resolution: 3840 x 2160 Ultra HD (4K)
Timeline frame rate: 25 (or 24 if you live in the US/Japan and use NTSC video standard)
Playback frame rate: 25 (or 24 if you live in the US/Japan and use NTSC video standard)
Video Playback
Video Resolution: 720 x 576 PAL 16:9
SDI Configuration: Single link
Data levels: Video
Video bit depth: 8 Bit
Monitor Scaling: Bilinear
Optimized Media and Render Cache
Proxy media resolution: Quarter
Proxy media format: DNxHR LB
Optimized media resolution: Quarter
Optimized media format: DNxHR LB
Render cache format: DNxHR LB
Enable background caching after: 5 seconds
Automatically cache transitions in user mode: Checked
Automatically cache composites in user mode: Checked
Automatically cache Fusion effects in user mode: Checked
Frame Interpolation
Retime Process: Nearest
Motion Estimation Mode: Enhanced Better
Motion Range: Small
Capture and Playback Tab
Deck Settings
Video capture and playback: HD 1080PsF 25
SDI Configuration: Single link
Data levels: Full
Note: You can save these settings by clicking on the Settings cogwheel icon -> 3 dots on the top right corner on the Settings window -> Save Current Settings as Preset -> name the Preset ‘4K 25 FPS’ -> OK. After that whenever you want to load these settings to one of your new projects, you can simply click on the Settings cogwheel icon again -> 3 dots on the top right corner on the Settings window -> ‘4K 25 FPS’ -> Load Preset
Playback Settings
To ensure that the playback does not stutter (since Da Vinci Resolve can be heavy on the resources of your computer), go to Playback in the top menu ->
Use Optimized Media if Available: Checked
Proxy Handling: Prefer Proxies
Timeline Playback Resolution: Quarter
Render Cache: Smart
3. Go to ‘Cut’ Tab
I have created a very simplistic left-to-right workflow on Da Vinci Resolve to avoid getting overwhelmed by the plethora of options available in the tool. So to begin with, go to the ‘Cut’ tab at the bottom toolbar of the screen and perform the following steps -
Import Clips - Drag and drop the video/audio files in the Media Pool panel on the left
Optimize Clips for Smooth Playback - In case the clips are not playing smoothly, right-click on the clip and select ‘Generate Optimized Media’
Trim Clips - For each video/audio file set the input point and output points in each video file by pressing ‘i’ and ‘o’ respectively
Add Clips to Timeline - Select all the trimmed video clips in the Media Pool panel on the left and drag and drop them to the Timeline panel at the bottom of the screen
Additional End Points Trimming – After adding the clips to the timeline, if you need additional trimming at the beginning or end of the clip, place the mouse pointer to the beginning or end of the clip to get into the Trim Mode i.e. so the pointer changes into a blade icon and then drag to the right or left, respectively, up to the point at which you want the clip to begin or end, respectively
Remove Unwanted Parts of a Clip - If you want to remove unwanted parts in the middle of a clip, place your play head at the starting point of the unwanted part -> click on the scissor button on the left that says ‘Split Clips’ -> place your play head at the ending point of the unwanted part -> select the split unwanted part -> Delete
Add Markers (for Speed Ramping) - If you want parts of the video to play in variable speed, place your play head to a specific point in the clip before and after which you want variable speeds in the video -> right click -> Add Speed Point
Change Clip Speed - Right click -> Change Speed -> in the box that appears below the clip, enter positive speed % (50% for instance) for playing clip with changed speed in original direction, and negative speed % (-50% for instance) for playing clip with changed speed in reverse direction (for Speed Ramping, change the speed for each of the split clip parts)
Inspector Panel (on the top right corner)
Video -> Transform – Apply Zoom, Rotate as deems fits
Note: If you have removed a part of the video from the middle of a narration clip, the jump cut may make the video look bad. In that case, select the former or the latter clip -> Video options tab on the top right Inspector Panel -> under Transform, click and hold the mouse on the Zoom X-axis value and drag it right to zoom in. To avoid jarring from the former to the latter clip owing to the zooming in, you need to ensure that the eye position of the subject remains the same by playing around with the Position X-axis and Y-axis values
Video -> Dynamic Zoom – Apply dynamic zoom (slowly zooming in or out) if needed
Video -> Retime and Scaling -> If you did speed ramping or made a 25 FPS clip slower using the ‘Change Speed’ option above, make the video smooth (less stutter) by using Retime Process – Optical Flow (and Motion Estimation – Speed Warp if Optical Flow doesn’t give good results)
Add Effects
Video Transitions - Click on Effects Library at the top of the screen -> In the newly opened panel at the bottom left of the screen, click on Toolbox -> Video Transitions -> Drag and drop an appropriate transition to the beginning and the end of the clips -> Squeeze or stretch the transitions to change the duration for which they will appear -> then adjust the options in the ‘Transition’ menu that appears in the Inspector Panel
Video Deflicker (if lights in the video are flickering) – Click on Effects Library at the top of the screen -> In the newly opened panel at the bottom left of the screen, click on Open FX -> Filters -> Resolve FX -> Resolve FX Revival -> Drag and drop ‘Deflicker’ it onto the video clip where you want to apply it -> then adjust the options in the ‘Effects -> Deflicker’ menu that appears in the Inspector Panel as mentioned below
Video Noise Reduction (if the video has grains) – Click on Effects Library at the top of the screen -> In the newly opened panel at the bottom left of the screen, click on Open FX -> Filters -> Resolve FX -> Resolve FX Revival -> Drag and drop ‘Noise Reduction’ it onto the video clip where you want to apply it -> then adjust the options in the ‘Effects -> Noise Reduction’ menu that appears in the Inspector Panel as mentioned below
Inspector Panel –
Effects -> Open FX -> Noise Reduction – Mode ‘Enhanced,’ Radius ‘Large,’ Spatial Threshold Luma ‘100,’ Chroma ‘100’
Effects -> Open FX -> Deflicker – Deflicker Settings ‘Advanced Controls,’ Frames Either Side ‘5,’ Motion Estimation Type ‘Better,’ Motion Range ‘Small’
4. Go to ‘Edit’ Tab (First Pass)
Go to the next tab i.e. ‘Edit’ tab at the bottom toolbar and perform the following steps -
Add Music - Drag and drop the trimmed audio clips from the Media Pool panel on the left to the Timeline panel on a layer below the video timeline -> to fade in/out audio grab the end markers/handles and the middle handles on the audio track and drag to the right or left to the point and shave (curve) you would like to fade in/out an audio track -> adjust the volume of the music in the Inspector Panel as mentioned below. I use uppbeat.io for downloading royalty-free music.
Inspector Panel (on the top right corner)
Audio -> Volume – Increase, decrease, mute audio (to mute audio you can also Alt + click on a clip to select only the audio track -> Click ‘D’ to disable it) of the clips or the music track
5. Go to ‘Fusion’ Tab
Go to the next tab i.e. ‘Fusion’ tab at the bottom toolbar and perform the following steps -
Locked-on Stabilization (if you want to track a subject or a part of the subject like his/her ‘eye’) -
Select Median 1 node -> Shift + Space to bring up all the nodes -> type ‘Planar Tracker’ in the search bar -> Add
Keep your play head at the beginning of the clip (so that you can track the subject from the beginning of the clip)
Select Planar Tracker node -> go to Inspector panel
Operation Mode – Track -> Set
Pattern – Tracker -> Hybrid Point/Area
Motion Type – Translation -> Make a selection in the clip that you want to be tracked e.g. around the eye of the subject (you can zoom in by pressing Ctrl and scrolling up) -> Go back to the Tracker in the Inspector window and click on the ‘play with a dash’ button (the name of the button is ‘Track to end’) to track the selection from the beginning till the end of the clip
Go back to Inspector panel -> Operation Mode – Stabilize -> Set
Select Planar Tracker node -> Shift + Space to bring up all the nodes -> type ‘Transform’ in the search bar -> select the Transform (Xf) from the search results -> Add
Select Transform node -> go to Inspector panel -> Size – scale it up to the extent that the wobbly boundaries are gone
6. Go to ‘Color’ Tab
Go to the next tab i.e. ‘Color’ tab at the bottom toolbar and perform the following steps -
Global Color Grading - Apply LUTs (Look Up Table or Color Presets) if needed -> Adjust the Shadows, Highlights, Contrast, Color Boost, Temperature, and Tint (in that order) as needed
Note: To copy the color grading to other clips, select the clips that need to have the same color grading (starting from the source clip and including the source clip) -> right click on the source clip -> Apply grade
7. Go to ‘Fairlight’ Tab
Go to the next tab i.e. ‘Fairlight’ tab at the bottom toolbar and perform the following steps -
Record Voiceover – Right click on the empty space on the left side below the audio tracks -> Add Track -> Mono (if you are using 1 microphone) -> rename the audio track as ‘VO’ (Voiceover) -> On the vertical mixer on the right click on ‘No Input’ -> Input -> select your microphone -> Patch -> Get the VO track ready to record by pressing ‘R’ on the left pane where it shows the audio tracks -> Play the video by pressing the play button and starting your voiceover on it by pressing the recording button on the top pane -> Boost your recorded voiceover as deems fit (if necessary)
8. Go to ‘Edit’ Tab (Second Pass)
Go back to the ‘Edit’ tab at the bottom toolbar and perform the following steps -
Add Subtitle
Right click on the empty space on the left side on the video track -> Add Subtitle Track -> position your play head where you want to add your first subtitle -> right click on the subtitle track -> Add Subtitle -> in the Subtitle Inspector Panel Captions Tab -> type the subtitle -> Track Tab -> Font ‘Open Sans,’ Font Face ‘Regular,’ Size ’45,’ Alignment ‘Center,’ Stroke Size ‘0,’ Position Y axis ‘65,’ Background Color ‘Black,’ Opacity ‘50’ -> drag it to change its duration to match the voiceover (e.g. the end of the sentence)
For the next subtitle, place the play head wherever you want the subtitle to be -> click on ‘Add New’ in the Subtitle Inspector Panel Captions Tab to create the next subtitle
Note: To export the subtitle file (if you want to upload separately on Youtube) go to File -> Export -> Subtitle
Add Effects
Title – Click on Effects Library at the top of the screen -> In the newly opened panel at the bottom left of the screen, click on Toolbox -> Titles -> Drag and Drop ‘Text’ on top of the clip where you want to display the text on a layer above the video timeline -> enter text -> drag it to the extent you want it to be displayed (as a rule of thumb try to make it disappear 1:00 seconds (or 0:20 or 0:10 seconds if it is too less) before the start of the next frame or next subtitle in the same frame -> Font Family ‘Open Sans,’ Font Face ‘Bold,’ Size ‘95’ (for H1) or ‘55’ (for H2) -> go to Settings tab -> Position Y axis ‘-335’ -> copy and paste (wherever the play head is) -> add an appropriate transition (e.g., Cross Dissolve) at the beginning and end of the title text as explained above (if needed)
Audio De-Essar (if you have a lot of hissing ‘S’ sound in the recorded voiceover) – Click on Effects Library at the top of the screen -> In the newly opened panel at the bottom left of the screen, click on Audio FX -> Fairlight FX -> Drag and drop ‘De-Essar’ it onto the audio clip where you want to apply it -> select the preset ‘Male ESS’ by clicking on Default at the top left drop down in the dialogue box (if you are not using the dead cat while recording with the microphone like the narration clips)
Audio Noise Reduction (if the audio has noise) – Click on Effects Library at the top of the screen -> In the newly opened panel at the bottom left of the screen, click on Audio FX -> Fairlight FX -> Drag and drop ‘Noise Reduction’ it onto the audio clip where you want to apply it -> select the preset ‘De-Rumble and Hiss’ by clicking on Default at the top left drop down in the dialogue box (If needed)
Inspector Panel –
Video -> Stabilization – Mode ‘Perspective’ (for 99% of the clips this works best, only use something else when perspective gives wobbly backgrounds especially for Dolly/Track using Ninja Walk footages), Camera Lock ‘Unchecked’ (check it only when you want a fixed tripod effect thereby zooming in a lot), Zoom ‘Checked’ (if you uncheck there is a possibility that after stabilization if you see black frames in the perimeter of the video), Cropping Ratio ‘0.5’ for 4K 50 FPS and ‘0.250’ for 4K 25 FPS (only if 4K 25 FPS is shot handheld), Smooth ‘1,’ Strength ‘1’ -> click on Stabilize
Video -> Super Scale (if you need to upscale resolution) – Super Scale ‘2X Enhanced,’ Sharpness ‘1,’ and Noise Reduction ‘1’
9. Go to ‘Deliver’ Tab
Go to the last tab i.e. ‘Deliver’ tab at the bottom toolbar and perform the following steps -
Select ‘Render Entire Timeline’ from the drop down just below the video sequence and above the subtitle timeline -> choose Custom Export Settings -> under Video tab check export subtitle Format -> ‘Burn into Video’ or ‘As a separate file’ (if you select ‘As a separate file,’ then you also need to check the ‘Subtitle 1’ box under ‘Include the following subtitle tracks in the export’) -> Add to Render Queue -> Render All
10. Publish on YouTube
If you want to publish the video on your YouTube channel, remember the following -
Add the Title and Description of your video on Youtube
Add Blog Link and Uppbeat Credit (or any other music platform from where you downloaded the royalty-free music) in YouTube Video Description
Make Thumbnail on Canva (or another imaging app) and upload it on YouTube
Upload the exported subtitle file on YouTube (if you had selected ‘As a separate file’ option in the ‘Export Subtitle’ step above)
While publishing the video, keep the box next to “Publish to Subscriptions feed and notify subscribers” checked on the “Advanced settings” tab (you can go to “Advanced Settings” by clicking on ‘Show More’)
Epilogue
So that was our step-by-step video post-production workflow. Please let us know in the comments below if you enjoyed reading this article.
To know more about or download the post-processing tools that we are currently using or have previously used, please read the article Our Post-Processing Tools. And if you want to know about our step-by-step photo post-processing workflow, please read our article My Step-By-Step Photo Post-Processing Workflow | A Beginner’s Guide to RAW Photo Editing | Adobe Lightroom, Photoshop, and Nik Collection Tutorial. Until then, merry traveling, happy shooting, and mind-blowing post-production!
Pin the article
Bookmark the article for reading later!
Want us to write an article for you?
Articles for magazines, newspapers, and websites!
Watch our Videos
Check out our videos on our Youtube Channel!
Join the Newsletter
Get updates on our latest articles!
We respect your privacy. Read our policy here.


