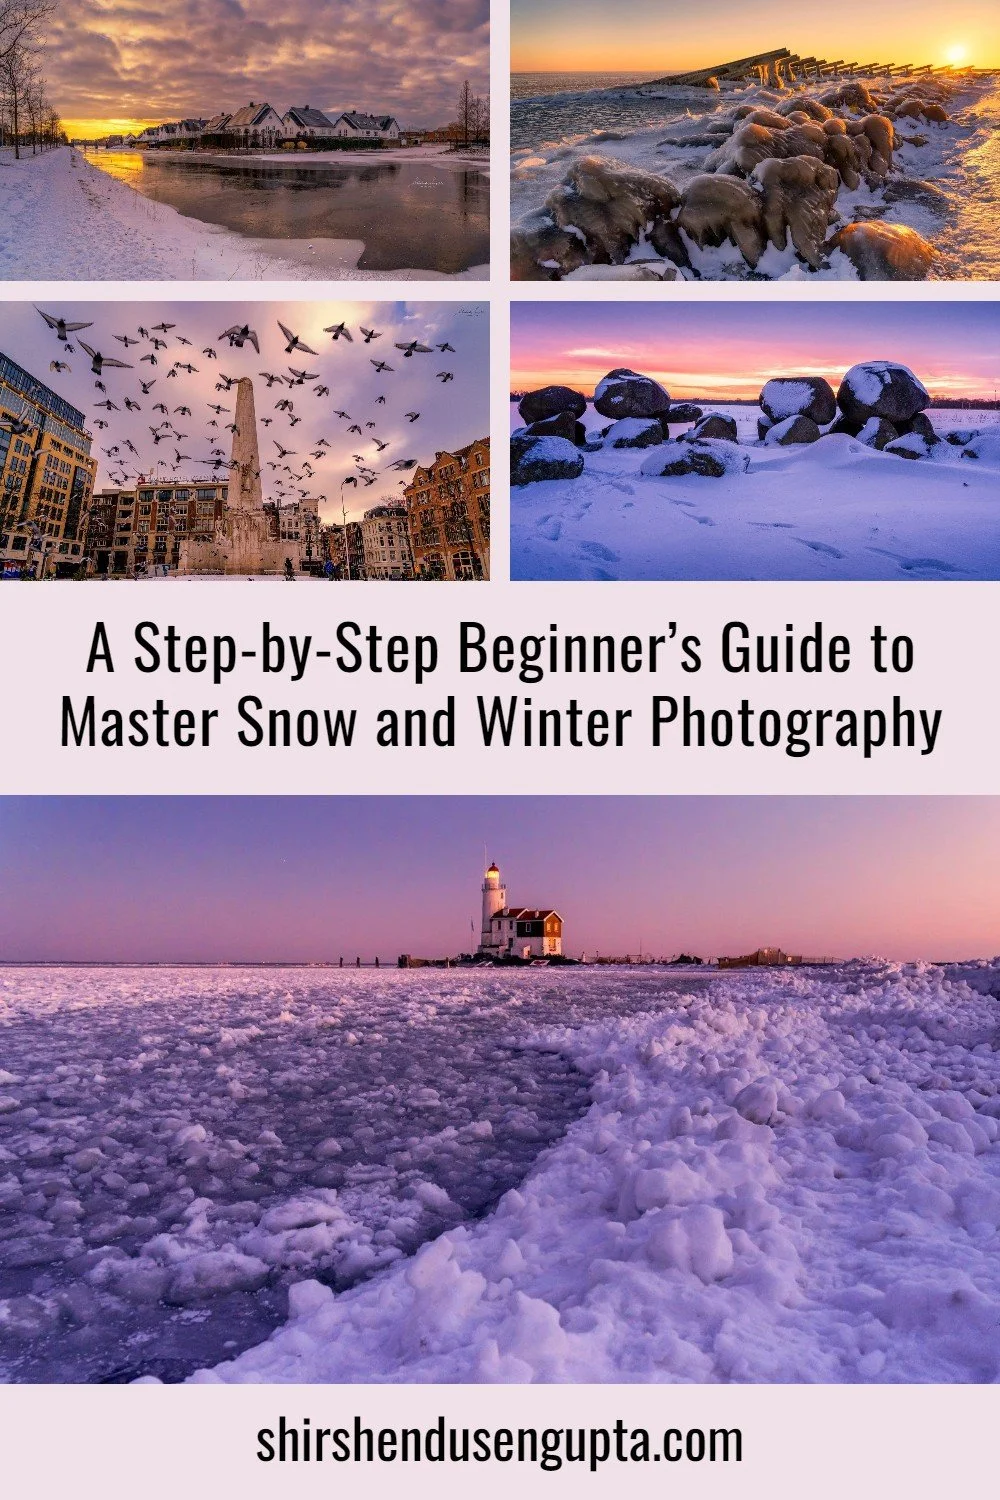
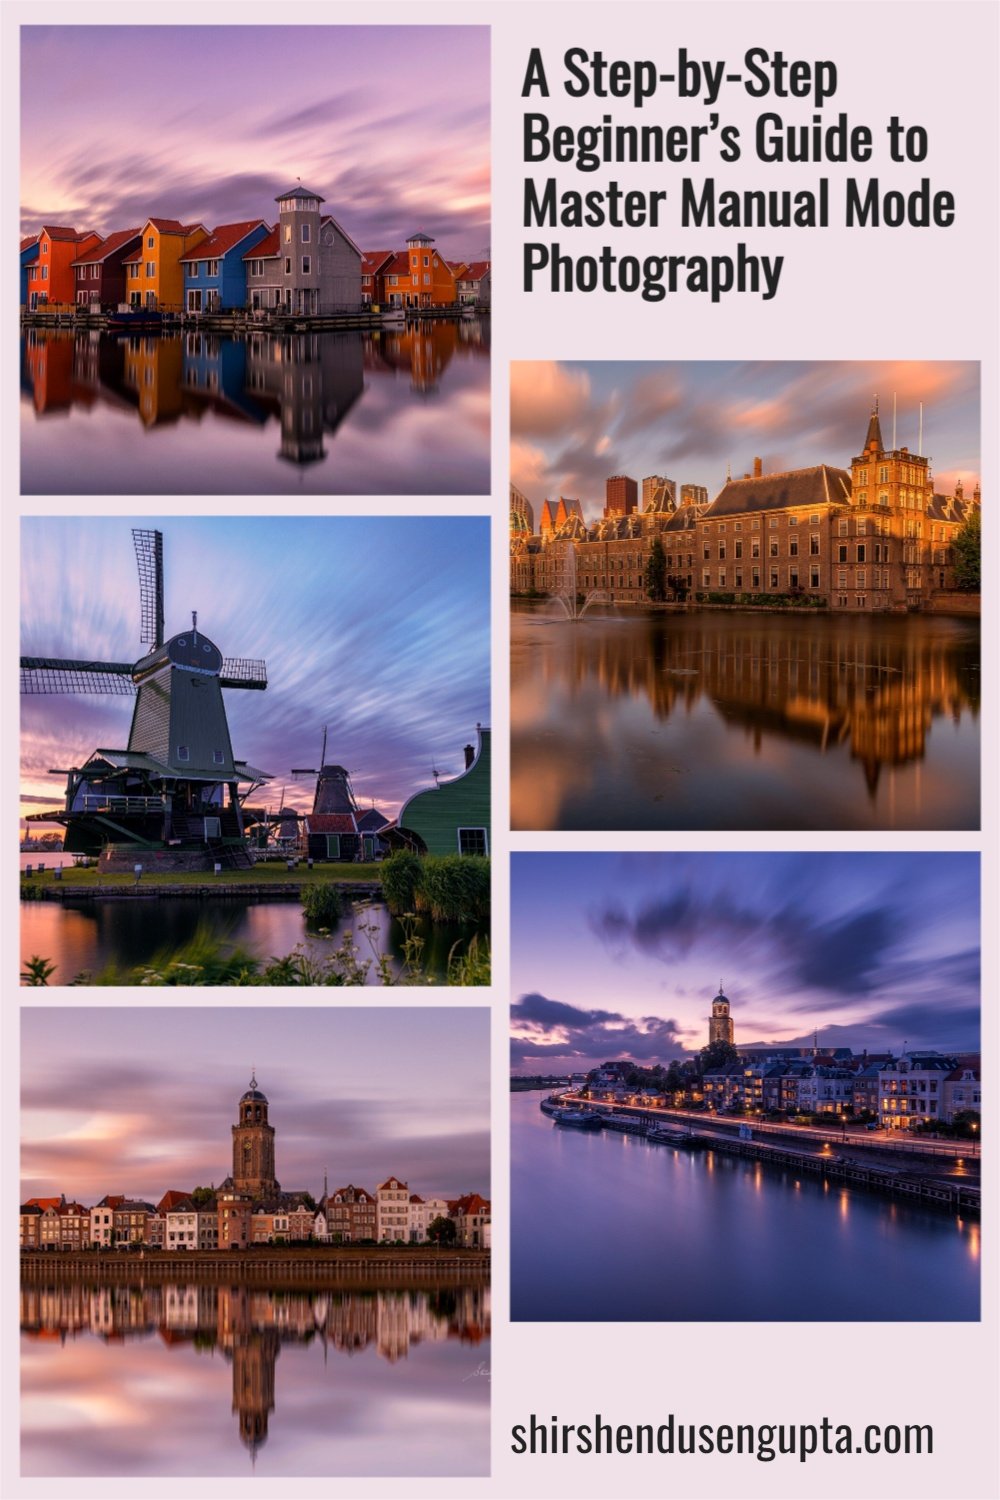
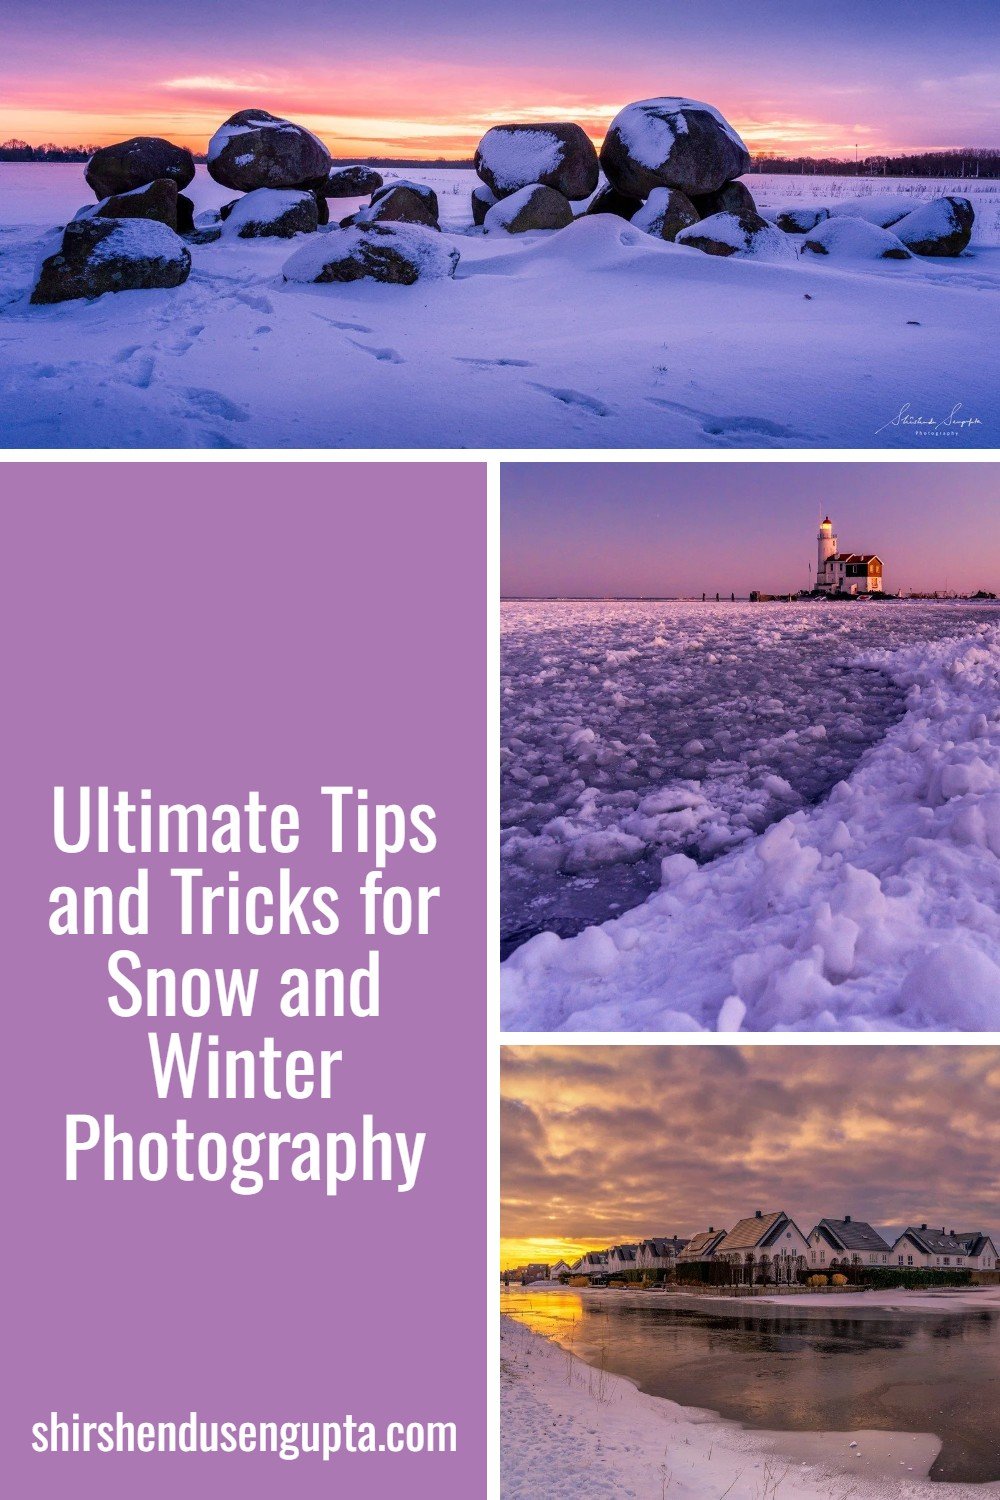
A Step-by-Step Beginner’s Guide to Master Snow and Winter Photography | Snow and Winter Photography Tutorial | 21 Ultimate Tips and Tricks for Snow and Winter Photography

Prologue
Let’s face it. We all love the snow. We bow down to the miraculous power of minuscule frozen water droplets to transform a landscape into a winter wonderland. And also, let’s accept that photographers like us get tempted to get out in the snow to capture some remarkable images. But photographing the snow can sometimes be tricky. But once we know the tricks, then capturing unforgettable memories becomes just a piece of cake. So here I’m, to help you with the same. Let’s get going!
Step-By-Step Beginner’s Guide to Snow and Winter Photography
1. Check for the weather protection of your gear
First and foremost, check if your camera body and lenses are weather protected if you plan to shoot while snowing. Sometimes the body is and the lens isn’t and vice versa. So you need to pay attention to that. If you are going to shoot after it has stopped snowing, it doesn’t really matter. However, the temperature difference does matter when you carry your camera back home. I’ve covered that in the last point.
2. Leave early
Go to the scene before people have ruined the landscape with footprints.
3. Carry extra batteries
Carry extra batteries since, in cold temperatures, the batteries' electrolyte freezes (or get harder), so they run out quickly. I was in Norway at -23 degrees when each battery lasted around half an hour. Maybe you are not in Norway. Still keep extra.
4. Use ‘Matrix Metering Mode’
Use ‘Matrix Metering Mode.’ If you don’t know what it means, metering mode decides the optimum exposure of the image. A ‘Spot Metering Mode’ decides the exposure based on the spot where you focus to expose the subject optimally. In the process, it may blow out the background, for instance. A ‘Center-weighted Metering Mode’ decides the exposure based on the center of your composition. A ‘Matrix Metering Mode’ decides the exposure based on the entire scene. Typically cameras are in ‘Matrix Metering Mode’ by default. But better to be safe than sorry.
5. Always shoot RAW
Always shoot in RAW file format instead of JPEG format. Do that by going into your camera settings and changing the file format to ARW for Sony, NEF for Nikon, or CRW for Canon. A RAW file format is like raw vegetables. It has all the ingredients (light and shadow information) needed to cook a good image. So you must shoot in RAW, then open the RAW files in a basic RAW processing tool like Adobe Camera RAW or Adobe Lightroom and then use the available information in the image to cook the food as per your wish. Once cooking is complete, you can then serve it on the platter (save in JPEG format). On the other hand, a straight-out-of-the-camera JPEG file is like already cooked food. It is impossible to do much with it apart from adding some sauce or sprinkling salt (adjusting a little brightness or contrast). So shoot RAW always and especially for snow photography. I will tell you why in the next point.
Note: Sometimes, Adobe Camera RAW or Adobe Lightroom may not recognize the RAW image's file format coming out of your camera. E.g., Adobe Camera RAW 9.1.1 (that comes as a plugin with Photoshop CS6) cannot identify the ARW file format from Sony. There's nothing to worry about. There is a freely downloadable software called Adobe DNG Converter that can convert your RAW file to a universally readable RAW file format DNG (Digital Negative) with a single click while preserving all the details in your original RAW file. To know more about the Adobe DNG Converter or download it, please read the article Our Post-Processing Tools.
6. Always underexpose
Always underexpose while shooting since if you don’t, when you come back home, you will see either the sky or the snow is washed/blown out. How to do that? Shoot in Aperture Priority Mode and set your Exposure Compensation between -0.7 to -1.3. In Sony and Canon cameras, you have a dial for that and in Nikon cameras, you have an EV button to set the Exposure Compensation. A positive value represents overexposure and a negative value represents underexposure. If the image is too dark later, you can expose it in post-processing by increasing the exposure and reduce the glare by reducing the highlights. However, this will work only if you shoot RAW since, as I said earlier, a JPEG file doesn’t have enough light information to play with like this.
Do not land in the trap of some photographers who may advise you to overexpose to get whiter snow. Sure, you will get whiter snow, but you will also get a ‘white’ (fully blown-out) sky. Please refer to the images below. If I had not underexposed landing in the trap of whiter snow, I would have surely blown out the sky or the reflection of the sunlight on the snow. I got whiter snow anyway by exposing optimally in post-processing. So this is a vital tip for snow photography and any photography in these kinds of difficult situations. Always underexpose!
Note: When you are shooting in Aperture Priority Mode and choose a negative Exposure Compensation value like -0.7, for instance, to underexpose the image, the camera keeps the ‘Aperture’ constant and increases the ‘Shutter Speed’ to allow lesser light to enter the sensor, thereby making the image darker. This means, by underexposing, you can also capture better action shots (since a faster shutter speed will freeze motion better) and better low-light handheld shots without pumping up the ISO too much to get a faster shutter speed (since reducing the Exposure Compensation already gives you a faster shutter speed). To know more about Exposure Compensation, please read our article A Step-by-Step Beginner’s Guide to Master Manual Mode Photography | Manual Mode Photography Tutorial | 14 Ultimate Tips and Tricks for Shooting in Manual Mode.
However, if you are shooting long exposures, then underexposing will be counterproductive, as, for long exposures, you need to expose the sensor longer to the light. Hence while shooting long exposures, set the Exposure Compensation to 0. For more tips on Long Exposure Photography, read our article A Step-by-Step Beginner’s Guide to Master Long Exposure Photography | Long Exposure Photography Tutorial | 30 Ultimate Tips and Tricks for Long Exposure Photography. And if you want to know how to expose the images optimally in post-processing as I did in the image below, please read my article My Step-By-Step Photo Post-Processing Workflow | A Beginner’s Guide to RAW Photo Editing | Adobe Lightroom, Photoshop, and Nik Collection Tutorial.
Original underexposed image
Optimally exposed image post-processing
7. Always check the histogram
Always check your histogram and try to expose the image optimally. If you don’t know how to read a histogram, here’s how. An image records luminous information in three tones - ‘Highlights’ (the brightest areas), ‘Shadows’ (the darkest areas), and ‘Midtones’ (between brightest and darkest areas). A histogram, which is in the form of a bell curve, shows these three tonal values in the image. The histogram's left shows the amount of shadows; the right shows the amount of highlights and the middle shows the amount of midtones present in the image. A bell curve overshooting on the left means clipped shadows. One overshooting on the right side means blown-out highlights. And one towards the center shows optimal exposure. Please find the images below to see underexposed, overexposed and optimally-exposed images.
Underexposed image with shadows clipped and histogram overshooting the left side
Overexposed image with highlights blown out and histogram overshooting the right side
Optimally-exposed image with bell curve towards the center
So all you need to do is ensure that the bell curve stays towards the center. And if due to difficult conditions (like this one) you cannot do that, ensure that the curve does not overshoot the right side of the graph by underexposing the image by a couple of notches. If it overshoots a bit on the left side of the graph (which means the shadows are clipped a bit), that is okay. Blown-out highlights (details lost in the sky or snow) are worse than some details lost in the darkest shadow areas.
8. Use Polarizer but control the strength
If you have a circular polarizer filter, use it to get rid of snow glare. But try to be careful not to rotate it to its maximum position of 90 degrees. Since that reduces too much glare and makes snow dull/uninteresting and at the same time darkens the sky too much, creating a very dark blue/grey sky with too much contrast with the white snow making it unnatural. Please find the images below where the first one is well polarized, but the second one is over-polarized.
Optimally polarized image
Overpolarized image
9. Use a lens hood
If you don’t usually use a lens hood, do it if you are shooting snow images on a sunny day to protect your image from flares.
10. Adjust White Balance
If you are shooting in RAW, in-camera settings do not matter, as you can adjust the white balance in post-processing later. But if you are shooting in JPEG, adjust your white balance to get white snow instead of yellowish or bluish tint in the snowy images.
11. Focus on a subject of higher contrast
While shooting, always try to focus on something of higher contrast, like the bark of a tree or the blade of a windmill. Don’t focus on the snow for a wide-angle landscape shot. The camera may not focus appropriately.
12. Choose a subject that stands out
Try finding an interesting subject with a color that stands out amidst the white.
13. Try combining snow with sunrise/sunset
It is extremely rare to get a snowy yet sunny situation. But if you have persistent snow for a couple of days followed by freezing temperatures, there is a good chance that the snow will stay for a few more days even after the snowing has stopped. Then there’s also a chance that one of those days could be a sunny one. Grab that opportunity to shoot stunning sunrise/sunsets with snow in the foreground.
14. Try Rural Snow Photography
Rural winter photography turns snow-covered canals, bridges, and farmhouses into clean, minimalist compositions. Focus on leading lines, reflections, and textures created by ice, water, and snow to capture calm, timeless winter images.
15. Try Urban Snow Photography
Cities look more beautiful when blanketed by snow. Head out to the center of your city to get some snow-covered urban shots.
16. Try Architecture Photography
Every piece of architecture looks brilliant, with snow in the foreground. So try some architecture photography when there’s snow all around.
17. Try Action Photography
When freezing temperature arrives, the canals are bustling with skaters of all ages. It gives you an excellent opportunity to get some action shots. And if you can club it with a stunning sunset, then you’ve killed two birds with one stone! For action photography, I recommend the following settings in your camera
Drive Mode (also called Release Mode in Nikon): Continuous High (CH or high-speed burst mode) enables multiple shots in a second.
Focus Mode: AF-C (Continuous focus) so that it can track the subject.
Focus Area: Single point with focus locking so that you can lock focus on the point you wish to (like the eye of a skater). In Sony, it is called ‘Flexible Spot: S .’ Get rid of the multiple autofocus points. They are for beginners shooting in ‘Auto’ mode. Come out of it.
Eye/Face Tracking: In recent cameras, mainly mirrorless, you have animal eye/face tracking. You need to set up a separate button to activate it. In Sony, it is called ‘Eye AF.’
ISO: However, since you need high-speed focusing and shots, I recommend setting ISO to Auto-ISO. You can consider setting an upper limit on the ISO so that it never goes above a particular value like 6400 lest it gives noise or doesn’t allow the shutter speed to go too low lest it gives a blurry image.
18. Try Landscape/Nature Photography
Head to the woods to shoot some landscape/nature shots before the snow falls off the branches!
19. Try Portrait Photography
If you want to shoot portraits, try shooting while snowing with snow falling over your face.
20. Try Snowflake/Macro Photography
People who are into patterns may try shooting snowflakes or going macro.
21. Beware of the condensation!!!
Last but the most crucial tip is before you come back home or enter a restaurant or any other place warm, put your camera in your bag, zip it, and then enter. If you enter from a cold to a warm area directly, you will risk damaging your camera or lens owing to the condensation of water droplets inside the camera body (including the sensor) or lens. Some years back, I did it during one of my Baltic Christmas trips and my viewfinder turned foggy and remained like that for 4 to 5 days, making photography very difficult for the remainder of my trip. Luckily, I didn’t damage the sensor, so I could still shoot in Live Mode. Even after it dried up, I had minuscule droplets inside the viewfinder forever until I sold my camera.
Epilogue
So that was the step-by-step beginner’s guide to master snow and winter photography. Please let us know in the comments below if you enjoyed reading this article.
And to know the best places for snow photography in the Netherlands, please read our article 11 Best Places for Snow Photography in the Netherlands | Top 11 Winter Photography Spots in the Netherlands. Until then, merry traveling and happy shooting!
Pin the article
Bookmark the article for reading later!
Want to license/buy photos in the article?
License photos for commercial/editorial use or buy photo prints!
Want us to write an article for you?
Articles for magazines, newspapers, and websites!
Watch our Videos
Check out our videos on our Youtube Channel!
Join the Newsletter
Get updates on our latest articles!
We respect your privacy. Read our policy here.