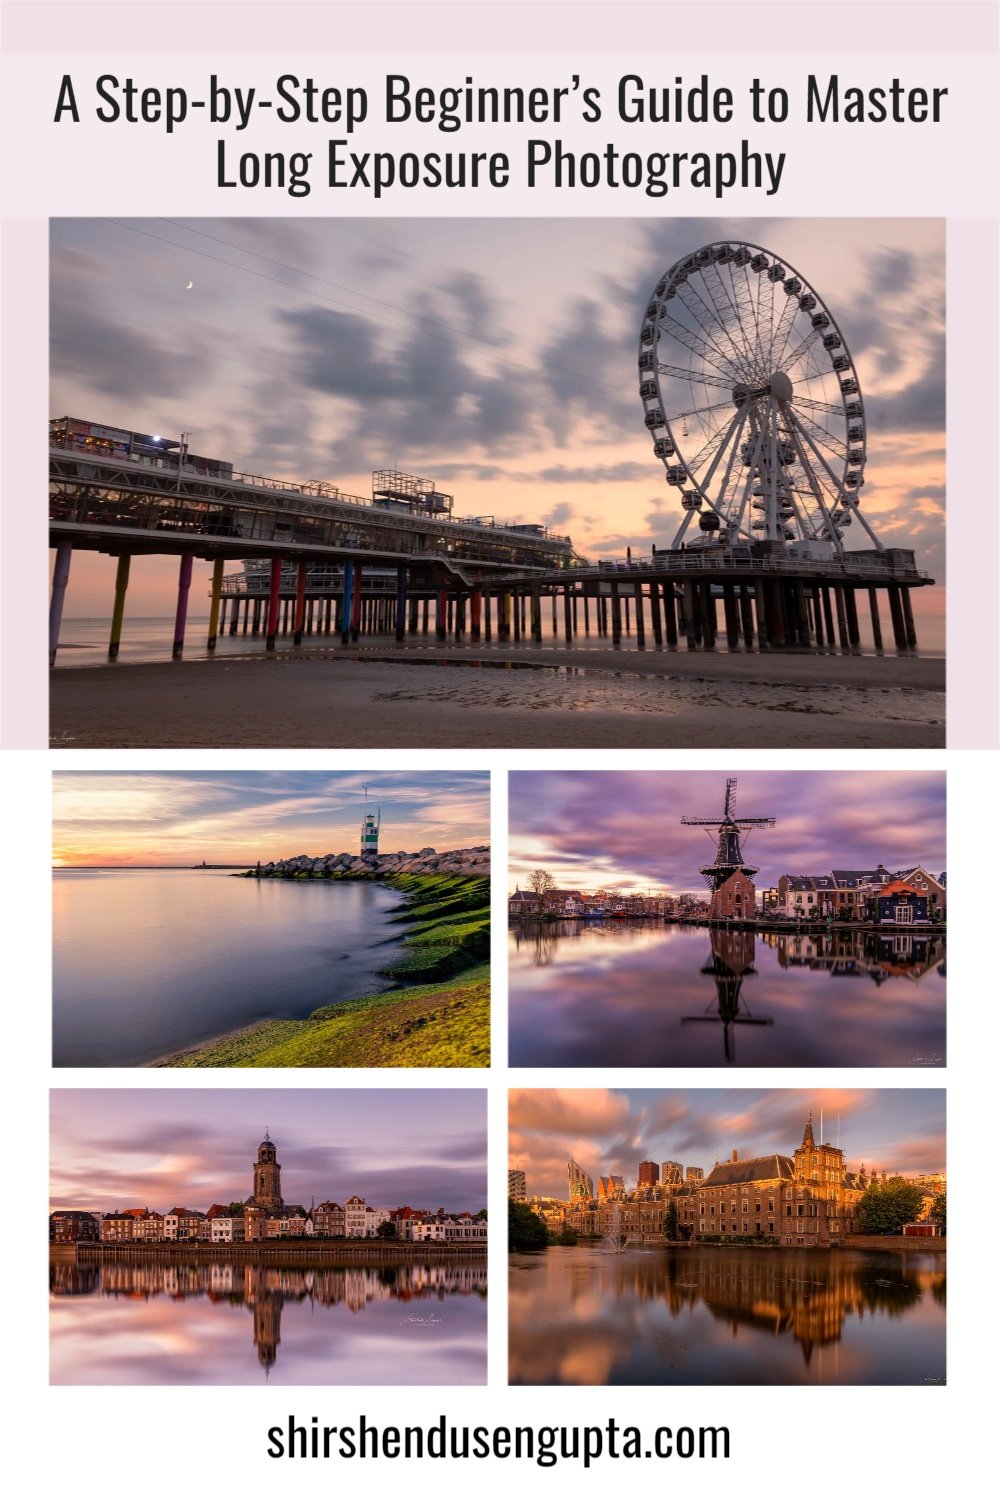
A Step-by-Step Beginner’s Guide to Master Long Exposure Photography | Long Exposure Photography Tutorial | 30 Ultimate Tips and Tricks for Long Exposure Photography

What is Long Exposure Photography?
It’s no secret that while scrolling through Instagram or Facebook, at some point in time, we’ve all wondered how to get those silky waterfall textures, how to capture those stunning motion blur of the clouds, or how to shoot those dazzling car light trails. Which means we all have one thing in common. We all are fans of long-exposure photography, whether we practice it or not. I know many of us think long exposure is a tricky business. Even I believed so. But trust me, if we follow the steps I’m about to mention below, there won’t be anything easier than this. So let’s start our journey towards creating some serious magic on the canvas!
Step-By-Step Beginner’s Guide to Long Exposure Photography
1. Choose your subject
First things first. Long exposures are typically shot to capture the motion of the clouds, water, boats, cars, or any other moving subject. So, before everything else, determine what your subject is going to be. You may want to choose from a variety of subjects like waterfalls, water bodies (lakes, rivers, oceans, etc.), car trails, and so on.
2. Choose your location
Based on your subject, decide your location. E.g., If your subject is the ocean, what else you want to be in the frame? A lighthouse or wooden breakwaters? Accordingly, find the most appropriate location.
3. Plan your season of the shoot
A shot at the same location in different seasons looks completely different. E.g., If you plan to shoot an urban landscape, winter is the appropriate season since, in winter, trees would’ve already shed their leaves, thereby revealing more of the buildings/urban landscape to you. Also, another advantage is if you want to shoot with street light starbursts in the frame or street light reflection on the water it’s easier during winter since lights come on early whereas in summer sun sets late and by then most of the people sleep off and that’s why in the background fewer windows will have lights on. That’s why if you google, almost all Amsterdam canal night long exposure shots are during winter. In summer, most of the canal houses are obstructed by the trees.
4. Plan your day of the shoot according to the weather forecast
Check weather forecasts in advance to decide your day of the shoot. The ideal weather for your shot will depend on your subject. I use accuweather.com to check the weather forecast of the place where I plan to shoot.
E.g., In the first image below, I chose a mirror reflection of the canal houses on the water as my subject. Therefore, I chose a less windy day; else, the wind would’ve ruined the reflection. Whereas in the second image, I chose an architectural element, i.e., the town hall, as my subject, therefore I chose a partially cloudy and windy day to get the dramatic look.
5. Check the position of the sun
If you plan to shoot sunrise/sunset, you must check the sun's position with respect to your subject/frame. Remember, the position of the sun changes with the season. So if you reach your location in summer, seeing the sun's position in an image on the internet taken in the same place during winter, you can be in for a surprise. I use the Photopills app for this. For information on the Photopills app please visit photopills.com.
6. Check golden/blue hour timings
Depending on your ambition to shoot during the golden/blue hour, check sunrise/sunset timings to determine your arrival time at the location and your time of the shoot. If you don’t know what golden and blue hours mean, let me explain them to you. They are part of the twilight. Until half an hour before sunrise and from half an hour after sunset starts the blue hour and from half an hour before sunrise until half an hour after sunset is the golden hour. So effectively, you should be at the spot with your tripod setup from 1 hour before and after sunrise/sunset (which means for a total of 2 hours) for getting the right shot. I use accuweather.com to check the sunrise and sunset timings of the place where I plan to shoot.
Refer to the images below to distinguish between the golden and blue hours. The images below are shot in the same location, the first one during the golden hour and the second one during the blue hour.
7. Plan for other circumstances
Apart from checking the weather, the position of the sun, and twilight hours, you must also plan for other special elements.
E.g., If your subject is a shipwreck or mosses that come out during only low tide along with sunrise/sunset, you need also to check the tide timings of that place and plan for the day when the low tide meets the sunrise/sunset timing. I use the website tideschart.com for this where you can find both the high and low tide timing as well as the sunrise/sunset timings.
8. Survey the location before the shoot
If you have the time, it is always advisable to survey the location a day or two before the shoot to decide on your composition.
9. On the day of the shoot, reach the spot before time
On the day of the shoot, reach the location in advance. Always remember, the twilight lasts only a small duration and during every minute within that small window of opportunity, the light, and the colors change. So you don’t want to miss a lifetime opportunity just because you reached the location late. Also, you need to account for time to park your car, reach the spot on foot, and set up your gear.
10. Carry extra batteries
Exposing the sensor for a long time consumes the battery. Also, in cold temperatures, the batteries' electrolyte freezes (or get harder), so they run out quickly. I was in Norway at -23 degrees when each battery lasted around half an hour. Maybe you are not in Norway. Still keep extra.
11. Mount your camera on a sturdy tripod
The word long exposure means we’re going to expose the sensor for an extended period of time (up to several minutes). This means there’s no way we can stably hold the camera for such long. So, we need to get a tripod and a sturdy one. Long exposure photography deals with capturing motion, including that of the clouds. And when do clouds move fast? When it’s windy. And therefore, we must have a sturdy tripod in place. Some photographers recommend hanging your camera bag from the tripod to add weight to it. I fully discourage that since a hanging bag acts as a swinging pendulum on a super windy day, especially in windy countries like the Netherlands, and can add to the problem and not the solution. So get a sturdy tripod and mount your camera on it.
12. Switch off ‘Anti-Vibration’
When on a tripod, you must switch off ‘Optical SteadyShot’ (as called in Sony) or ‘Vibration Reduction’ (as called in Nikon) or ‘Image Stabilization’ (as called in Canon). For DSLRs, usually, you have a switch for that on the lens and for mirrorless cameras, you have it in the body itself. Anti-Vibration systems detect vibrations in your camera and produce counter-vibrations to cancel out the same. However, if they can’t detect a vibration (e.g., when your camera is on a tripod), they can actually induce vibrations. So better, switch it off.
13. Set the ISO to the lowest value
Higher ISO increases the shutter speed to enable better handheld shooting. But since you want to exposure longer and are shooting on a tripod, higher ISO is counterproductive. Also, higher ISO produces grains in the image. So set the ISO to its lowest value in your camera (ISO 100 for most cameras)
14. Set the Exposure Compensation to ‘0’
Setting Exposure Compensation Values below 0 will lead to faster shutter speeds which you don’t want in a long exposure. Hence set it to zero.
15. Cover the viewfinder using a viewfinder cap (only for DSLRs)
For DSLRs, cover the viewfinder with a viewfinder cap or duct tape (if you don’t have a viewfinder cap) to prevent light from entering via the viewfinder and reaching the sensor. It will create banding or haze in your image, especially during low-light conditions. For mirrorless cameras, you don’t need to bother since the viewfinder is an electronic one (just a small screen connected to the viewfinder with wires) and hence does not have an optical channel through which the light can reach the sensor.
16. For firing the shutter button, connect a remote cable release
In the case of long exposures, even the minutest of shakes can lead to a blurry image. Hence, it is always advisable to connect a remote cable release to fire the shutter button instead of pressing it with your finger.
17. Decide your aperture
I will give you a simple formula to help you decide the aperture. You usually shoot long exposures for landscapes or urban landscapes. Hence you want a high depth of field. That means using a big aperture to get bokeh (background blur) akin to a macro or portrait is out of the question. The next step is to think if you want starbursts (that’s mainly if you are shooting after the sunset during the blue hour when the street lights are on). Then use the smaller aperture (between F16 and F22) to get the starburst effect. But remember, for every lens, the sharpness of the images rises from the biggest aperture (lowest F-number), peaks somewhere between F9 and F11, and then gradually diminishes due to an optical phenomenon called diffraction (bending of light rays around sharp corners). So at the smallest aperture like F22, when the shutter blades close in front of the small hole, you may get a good starburst, but you will get a softer image due to the light loss owing to diffraction. So don’t use such a small aperture unless needed. You can get a pretty good starburst effect with a sharp image even at F16. If you decide that you don’t need a starburst effect, then set it to the sharpest aperture of your lens (somewhere between F9 and F11). Some photographers may advise you to narrow the aperture to get longer exposures even when the starburst effect is not needed. In my opinion, compromising the image quality to get a longer exposure is meaningless. In such circumstances, use Neutral Density (ND) filters to get longer exposures. I will explain that later.
See the images below as an illustration. In the first image, I did not need a starburst effect. So I used F9 as the aperture. But in the second image, I needed the starburst of the street lights on the bridge. So I used F22.
18. Decide your point of focus
Focus at a point 1/3rd from the bottom of the frame following the ‘Rule of Thirds’ so that the sharpness diminishes gradually from the foreground towards the background. However, this may not always work as at 1/3rd from the bottom of the frame, you may not have a well-lit object for the camera to focus on, or you may not even have an object at all (e.g., if the bottom 1/3rd of your frame is a mirror reflection in a water body). In such situations, I would advise you to use infinity focus (i.e., focus on some far-off object near the horizon) or focus on a foreground or a background object that is well lit.
E.g., In the image below, following the 1/3rd rule, I should have focused on the pier, but since it was not well lit, I focused on the windmill, which was lit by the light of the setting sun.
19. Lock the focus
After you have focused on the subject, lock the focus by either the focus lock button at the back of your camera or switching the AF-MF button from Auto-Focus (AF) to Manual-Focus (MF) on your lens. It is necessary so that when you fire the shutter using the remote cable release, or you screw on the ND filters, the focus doesn’t change.
Note: You must focus before screwing on the ND filter since after screwing on the ND filter, it can get too dark for the camera to focus.
20. Check the ‘Unfiltered Shutter Speed’ also called the ‘Base Exposure
Set your camera in the ‘Aperture Priority Mode’ and focus on the spot where you want to and check the shutter speed that the camera is showing. This is called the ‘Base Exposure,’ which is the shutter speed shown by the camera before adding any filter. How this works is when you are in ‘Aperture Priority Mode’ (you should mostly shoot in ‘Aperture Priority Mode’ to have full control on the aperture and therefore the depth of field), the camera keeps the aperture constant and decides on the shutter speed needed to achieve optimum exposure for the image automatically. It shows that on the display of your camera (referred to here as the ‘Base Exposure’). Now, you need to decide if the ‘Base Exposure’ displayed by your camera is sufficient for getting the effect you desire. E.g., for a simple long exposure like a mirror reflection on the water, a long exposure of 5 secs is good enough. But for capturing the motion of clouds, especially if they are slowly moving, you may need to expose the sensor for even minutes at a time. So based on your requirement, see if the shutter speed shown by the camera is enough or not. If you need longer exposure than what the camera shows, you may need to use Neutral Density (ND) filters, as explained in the next point.
See the images below as an illustration. The first image is a 10-second exposure since there wasn’t much drama in the sky to capture; hence a 10-second exposure was enough for me to get an excellent mirror reflection. The second image is a 4-minute exposure image since the clouds in the sky were very stubborn and were almost immobile. So I had to expose it for such a long period of time to get the desired effect. Now I know that the next question that will arise in your mind is, “How can I keep the shutter open for 4 minutes since if the light enters the sensor for 4 minutes, won’t it whitewash the image?” You are right. It will. That’s when we need a Neutral Density (ND) filter, which’s nothing but a black glass that reduces the entry of the light so that you can keep the shutter open for a longer time to get the desired long exposure effect.
21. Decide on the strength of the ND filter to be used
ND filters come in different strengths. They are labeled as ND2, ND4, ND6, ND10, and likewise. What the number refers to is by how many stops (or F-numbers) the filter reduces the light entering the sensors. E.g., An ND6 filter reduces the light entering the sensor by 6 stops; an ND10 filter reduces the light entering the sensor by 10 stops, and likewise. After a lot of trial, error, and experience, I now have narrowed it down to 2 filters, namely ND6 and ND10. I use ND6 mainly for waterfalls (to get subtle silkiness in the water) or during low light conditions like before sunrise or after sunsets when the sky’s already quite dark. I use the ND10 for daytime long exposures when the sky is bright.
Please refer to the images below, for a comparison of the effects. The first one is shot with an ND6 filter to achieve a subtle silkiness to the water and the second one is shot using ND10 to prolong the exposure and get the blade trails of the very slowly moving windmill blades.
Note1: Some photographers use square filters that fit in front of your lens with a lens holder. You can slide the filters in and out, and mix and match filters to create different ND strengths. E.g., you can use an ND3 + ND6 to get a strength of ND9. Also, square filters are much cheaper than circular screw-on filters. However, the setup takes time and the filters are pretty delicate and they need careful carrying and good handling. I prefer circular screw-on filters since they are more robust, can be quickly screwed on directly to the lens (you don’t need to fix the lens holder setup to the lens first like for a square filter) and you can move around quickly if you want to shoot multiple long exposure shots in the same golden hour window. I leave the choice to you.
Note2: There are some filters in the market called variable Neutral Density filters. The strength of the filter can be adjusting by turning it. I do not recommend that since variable NDs often result in uneven polarization or darkening and also leave a purplish/bluish color cast (tint) in the image. So go for fixed value NDs.
22. Screw on the ND filter
Now it’s time to screw on the appropriate ND filter with the focus already locked, as explained before.
23. If the Shutter Speed reaches the max of 30 seconds, use ‘Bulb Mode’
After screwing on the filter, if it gets too dark and the camera needs a shutter speed of more than 30 seconds, you cannot do that in 'Aperture Priority Mode’ since in ‘Aperture Priority Mode,’ the maximum reachable shutter speed is 30 seconds (for most of the cameras; for some, it is 60 seconds). Then you need to go to ‘Manual Priority Mode,’ keep the aperture the same as before, and set the shutter speed to ‘Bulb.’ This allows you to expose the sensor for as long as you press and hold the shutter button on the remote cable. In some remote cables, you have a lock in the button. So you can lock the button for 1 or 2 minutes instead of pressing and holding the button, and then unlock/release it after the required time. Now the next question that comes to your mind is, “How do I decide how much time I need to keep the shutter open to get an optimal exposure based on the ambient light condition?” Let me give you a simple formula for this.
24. Calculate the Exposure
Calculate the exposure using the table below, based on the ‘Base Exposure’ (shutter speed shown by the camera before screwing-on the filter) and the strength of the filter used.
25. Beware of Hot Pixels
Please note that if you expose the sensor for very long exposures (4 minutes and above) for a long stretch of time, you may start getting small white dots in your image. They are called hot pixels and arise due to overheating of your sensor. Though most mature post-processing applications like Lightroom or Adobe Camera RAW can detect hot pixels and remove them automatically, it is always advisable to give your camera rest for a few minutes and then start shooting again.
26. Move quickly between locations
As I said earlier, the golden/blue hour window is a small one. So move very fast between locations if you plan to shoot multiple long exposures in the same evening. And for such situations, screw-on filters come in very handy as you don’t need to dismantle the setup akin to square filters.
Please refer to the images below that I shot in the same evening walking around 10 km on the bank of the Thames in London. So the faster you move, the more shots you get. It is that simple!
27. Always shoot RAW
Always shoot in RAW file format instead of JPEG format. Do that by going into your camera settings and changing the file format to ARW for Sony, NEF for Nikon, or CRW for Canon. A RAW file format is like raw vegetables. It has all the ingredients (light and shadow information) needed to cook a good image. So you must shoot in RAW, then open the RAW files in a basic RAW processing tool like Adobe Camera RAW or Adobe Lightroom and then use the available information in the image to cook the food as per your wish. Once cooking is complete, you can then serve it on the platter (save in JPEG format). On the other hand, a straight-out-of-the-camera JPEG file is like already cooked food. It is impossible to do much with it apart from adding some sauce or sprinkling salt (adjusting a little brightness or contrast). So shoot RAW always.
Note: Sometimes, Adobe Camera RAW or Adobe Lightroom may not recognize the RAW image's file format coming out of your camera. E.g., Adobe Camera RAW 9.1.1 (that comes as a plugin with Photoshop CS6) cannot identify the ARW file format from Sony. There's nothing to worry about. There is a freely downloadable software called Adobe DNG Converter that can convert your RAW file to a universally readable RAW file format DNG (Digital Negative) with a single click while preserving all the details in your original RAW file. To know more about Adobe DNG Converter or download it, please read the article Our Post-Processing Tools.
28. Always check the histogram
Always check your histogram and try to expose the image optimally. If you don’t know how to read a histogram, here’s how. An image records luminous information in 3 tones - ‘Highlights’ (the brightest areas), ‘Shadows’ (the darkest areas), and ‘Midtones’ (between brightest and darkest areas). A histogram, which is in the form of a bell curve, shows these 3 tonal values in the image. The histogram's left shows the amount of shadows, the right of the histogram shows the amount of highlights and the middle shows the amount of midtones present in the image. A bell curve overshooting on the left means clipped shadows. One overshooting on the right side means blown-out highlights. And one towards the center shows optimal exposure. Please find the images below to see underexposed, overexposed and optimally-exposed images.
Underexposed image with shadows clipped and histogram overshooting the left side
Overexposed image with highlights blown out and histogram overshooting the right side
Optimally-exposed image with bell curve towards the center.
So all you need to do is ensure that the bell curve stays towards the center. And if due to difficult conditions (like this one) you cannot do that, ensure that the curve does not overshoot the right side of the graph by underexposing the image by a couple of notches. If it overshoots a bit on the left side of the graph (which means the shadows are clipped a bit), that is okay. Blown-out highlights (details lost in the sky) are worse than some details lost in the darkest shadow areas.
29. When there is a lack of drama, go creative
Sometimes, despite all the planning, you may land up in an extremely bland situation such as a fully clear sky or a completely overcast sky. Both of them kill the drama from the scene. In such situations, try playing around with your filters and shutter speeds to get some creative and cool images such as the one below.
30. Finally, shoot some car trails
When you’ve mastered the steps above, go shoot some car trails like the one below!
Epilogue
So that was the step-by-step beginner’s guide to long exposure photography. Please let us know in the comments below if you enjoyed reading this article. And until we meet next time, I wish you merry traveling and happy shooting!
Pin the article
Bookmark the article for reading later!

Want to license/buy photos in the article?
License photos for commercial/editorial use or buy photo prints!
Want us to write an article for you?
Articles for magazines, newspapers, and websites!
Watch our Videos
Check out our videos on our Youtube Channel!
Join the Newsletter
Get updates on our latest articles!
We respect your privacy. Read our policy here.