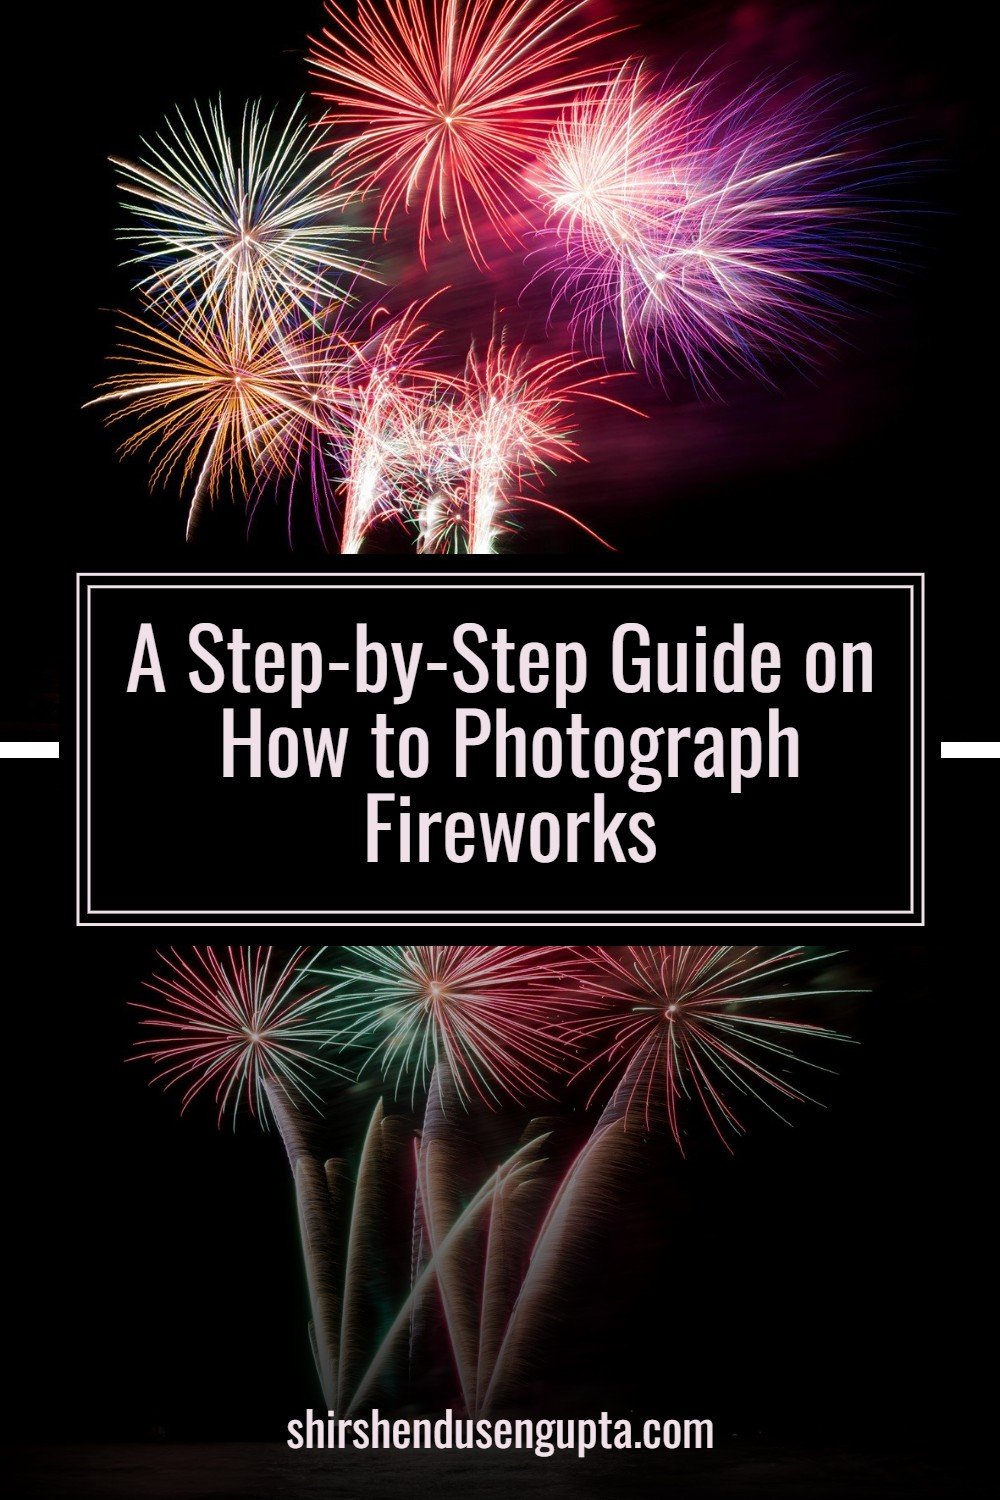
A Step-by-Step Guide on How to Photograph Fireworks | Fireworks Photography Camera Settings | 17 Powerful Tips and Tricks to Master Long Exposure Fireworks Photography

Photographing Fireworks
Oh, how the night sky is illuminated by fireworks' brilliant colors and amazing beauty! A fireworks display is incredibly magical, and as a photography enthusiast, you can't help but feel the burning need to freeze those passing moments in time. However, shooting fireworks requires long-exposure photography know-how which can be tricky and require some genuine technical finesse. But trust me, if we follow the steps I’m about to mention below, there won’t be anything easier than this. So let’s start our journey towards mastering the craft of fireworks photography and taking jaw-dropping pictures!
To know more about long exposure photography, please read our article A Step-by-Step Beginner’s Guide to Master Long Exposure Photography | Long Exposure Photography Tutorial | 30 Ultimate Tips and Tricks for Long Exposure Photography.
Step-By-Step Guide to Fireworks Photography
1. Survey the location before the shoot
Preparation is essential for taking beautiful fireworks pictures. The fireworks displays happen after sunset. If you've ever tried to compose in the dark, you know how challenging it is. So, if you have the time, it is always advisable to survey the location a day or two before the shoot to decide on your composition and make the most of the brief window of opportunity to capture the spectacle.
2. On the day of the shoot, reach the spot before time
On the day of the shoot, reach the location in advance to get the best spot to set up your tripod. Fireworks locations usually get very crowded and the later you arrive, the more you get behind the crowds. Also, you need to account for time to park your car, reach the spot on foot, and set up your gear.
3. Carry extra batteries
Exposing the sensor for a long time consumes the battery. Also, if you are shooting fireworks in cold temperatures for instance on New Year’s Eve, the batteries' electrolyte freezes (or get harder), so they run out quickly. I was in Norway at -23 degrees when each battery lasted around half an hour. Maybe you are not in Norway. Still, keep extra.
4. Mount your camera on a sturdy tripod
Why is a tripod necessary for shooting fireworks? Fireworks displays happen at night, so long shutter speeds (long exposures) are necessary to allow more light in the camera to compensate for the darkness. This means there’s no way we can stably hold the camera for such long. So, we need to get a tripod and a sturdy one. Even the slightest camera shaking might cause blurry images when you're taking a long exposure. Some photographers recommend hanging your camera bag from the tripod to add weight to it. I fully discourage that since a hanging bag acts as a swinging pendulum on a super windy day, especially in windy countries like the Netherlands, and can add to the problem and not the solution. So get a sturdy tripod and mount your camera on it.
5. Switch off ‘Anti-Vibration’
When on a tripod, you must switch off ‘Optical SteadyShot’ (as called in Sony) or ‘Vibration Reduction’ (as called in Nikon) or ‘Image Stabilization’ (as called in Canon). For DSLRs, usually, you have a switch for that on the lens and for mirrorless cameras, you have it in the body itself. Anti-Vibration systems detect vibrations in your camera and produce counter-vibrations to cancel out the same. However, if they can’t detect a vibration (e.g., when your camera is on a tripod), they can actually induce vibrations. So better, switch it off.
6. Set the ISO to the lowest value
Higher ISO increases the shutter speed to enable better handheld shooting. But since you want to exposure longer and are shooting on a tripod, higher ISO is counterproductive. Also, higher ISO produces grains in the image. So set the ISO to its lowest value in your camera (ISO 100 for most cameras)
7. Set the Exposure Compensation to ‘0’
Setting Exposure Compensation Values below 0 will lead to faster shutter speeds which you don’t want in a long exposure. Hence set it to zero.
8. Cover the viewfinder using a viewfinder cap (only for DSLRs)
For DSLRs, cover the viewfinder with a viewfinder cap or duct tape (if you don’t have a viewfinder cap) to prevent light from entering via the viewfinder and reaching the sensor. It will create banding or haze in your image, especially during low-light conditions. For mirrorless cameras, you don’t need to bother since the viewfinder is an electronic one (just a small screen connected to the viewfinder with wires) and hence does not have an optical channel through which the light can reach the sensor.
9. For firing the shutter button, connect a remote cable release
Even with your camera securely set on a strong tripod, there’s a chance of the camera shaking when you click the shutter button, resulting in poor photos. For this reason, a remote release is a necessary piece of firework photography equipment. A remote release is a wireless gadget that attaches to your camera and enables you to start the shutter remotely. By utilizing the remote, you may take pictures that are as stable and sharp as possible without having to touch the camera directly.
10. Choose the right lens
I advise using a wide-angle zoom the majority of the time. Since you can usually rely on wide-angle lenses to include the fireworks in the scene, they make excellent "safety" focal lengths. You do, of course, have the ability to crop afterwards if your camera has enough resolution.
11. Choose the right composition
Choose between vertical and horizontal compositions (portrait or landscape mode). Both are viable options for photographing fireworks, but I personally like a vertical angle because a lot of the action in fireworks occurs vertically. But if you want a wide-angle photo that is broad, horizontal shots are wonderful.
You can also provide viewers a visual journey by skillfully fusing a stunning sky explosion with an appealing foreground. Remember that you can employ a variety of objects as your foreground interest, such as leading lines, buildings, ships, distant mountains, or even rides at an amusement park. I advise you to carefully consider which foreground components will best accentuate the fireworks display.
12. Decide your aperture
For fireworks photography, you want the whole frame to be in focus. So try a smaller aperture between F9 and F14.
13. Decide your point of focus
Focus at a point 1/3rd from the bottom of the frame following the ‘Rule of Thirds’ so that the sharpness diminishes gradually from the foreground towards the background. However, this may not always work as at 1/3rd from the bottom of the frame, you may not have a well-lit object for the camera to focus on, or you may not even have an object at all. In such situations, I would advise you to use infinity focus (i.e., focus on some far-off object near the horizon) or focus on a foreground or a background object that is well lit.
14. Control the shutter speed using ‘Bulb Mode’
Now comes the most crucial part of the game - how to choose the perfect shutter speed as fireworks are a moving subject.
Now, you may use a slower shutter speed to capture the lovely light trails left by the fireworks. But you shouldn't leave the shutter open for too long. Fireworks are really bright, so if you're not careful, your frames will have many clipped highlights. By setting your camera to ‘Bulb’ mode, you can easily handle this. When in ‘Bulb’ mode, the shutter will stay open as long as the shutter button (or shutter release) is depressed. You can press the shutter button to capture a firework as it is about to explode and release it just after the explosion is over.
To go to ‘Bulb’ mode, you need to go to ‘Manual Priority Mode,’ and set the shutter speed to ‘Bulb’ (check that the aperture is still the same that you had selected earlier).
15. Beware of Hot Pixels
Please note that if you expose the sensor for long exposures for a long stretch of time, you may start getting small white dots in your image. They are called hot pixels and arise due to overheating of your sensor. Though most mature post-processing applications like Lightroom or Adobe Camera RAW can detect hot pixels and remove them automatically, it is always advisable to give your camera rest for a few minutes and then start shooting again.
16. Move between locations/change compositions quickly
Since the fireworks display runs for a limited period of time, you need to move between locations very quickly if you plan to shoot multiple compositions in the same evening.
17. Always shoot RAW
Always shoot in RAW file format instead of JPEG format. Do that by going into your camera settings and changing the file format to ARW for Sony, NEF for Nikon, or CRW for Canon. A RAW file format is like raw vegetables. It has all the ingredients (light and shadow information) needed to cook a good image. So you must shoot in RAW, then open the RAW files in a basic RAW processing tool like Adobe Camera RAW or Adobe Lightroom and then use the available information in the image to cook the food as per your wish. Once cooking is complete, you can then serve it on the platter (save in JPEG format). On the other hand, a straight-out-of-the-camera JPEG file is like already cooked food. It is impossible to do much with it apart from adding some sauce or sprinkling salt (adjusting a little brightness or contrast). So shoot RAW always.
Note: Sometimes, Adobe Camera RAW or Adobe Lightroom may not recognize the RAW image's file format coming out of your camera. E.g., Adobe Camera RAW 9.1.1 (that comes as a plugin with Photoshop CS6) cannot identify the ARW file format from Sony. There's nothing to worry about. There is a freely downloadable software called Adobe DNG Converter that can convert your RAW file to a universally readable RAW file format DNG (Digital Negative) with a single click while preserving all the details in your original RAW file. To know more about Adobe DNG Converter or download it, please read the article Our Post-Processing Tools.
Epilogue
So that was the step-by-step guide to fireworks photography. Please let us know in the comments below if you enjoyed reading this article.
And to know more about long exposure photography, please read our article A Step-by-Step Beginner’s Guide to Master Long Exposure Photography | Long Exposure Photography Tutorial | 30 Ultimate Tips and Tricks for Long Exposure Photography, or to know how to master manual mode photography, please read our article A Step-by-Step Beginner’s Guide to Master Manual Mode Photography | Manual Mode Photography Tutorial | 14 Ultimate Tips and Tricks for Shooting in Manual Mode. Until then, merry traveling and happy shooting!
Pin the article
Bookmark the article for reading later!

Want to license/buy photos in the article?
License photos for commercial/editorial use or buy photo prints!
Want us to write an article for you?
Articles for magazines, newspapers, and websites!
Watch our Videos
Check out our videos on our Youtube Channel!
Join the Newsletter
Get updates on our latest articles!
We respect your privacy. Read our policy here.