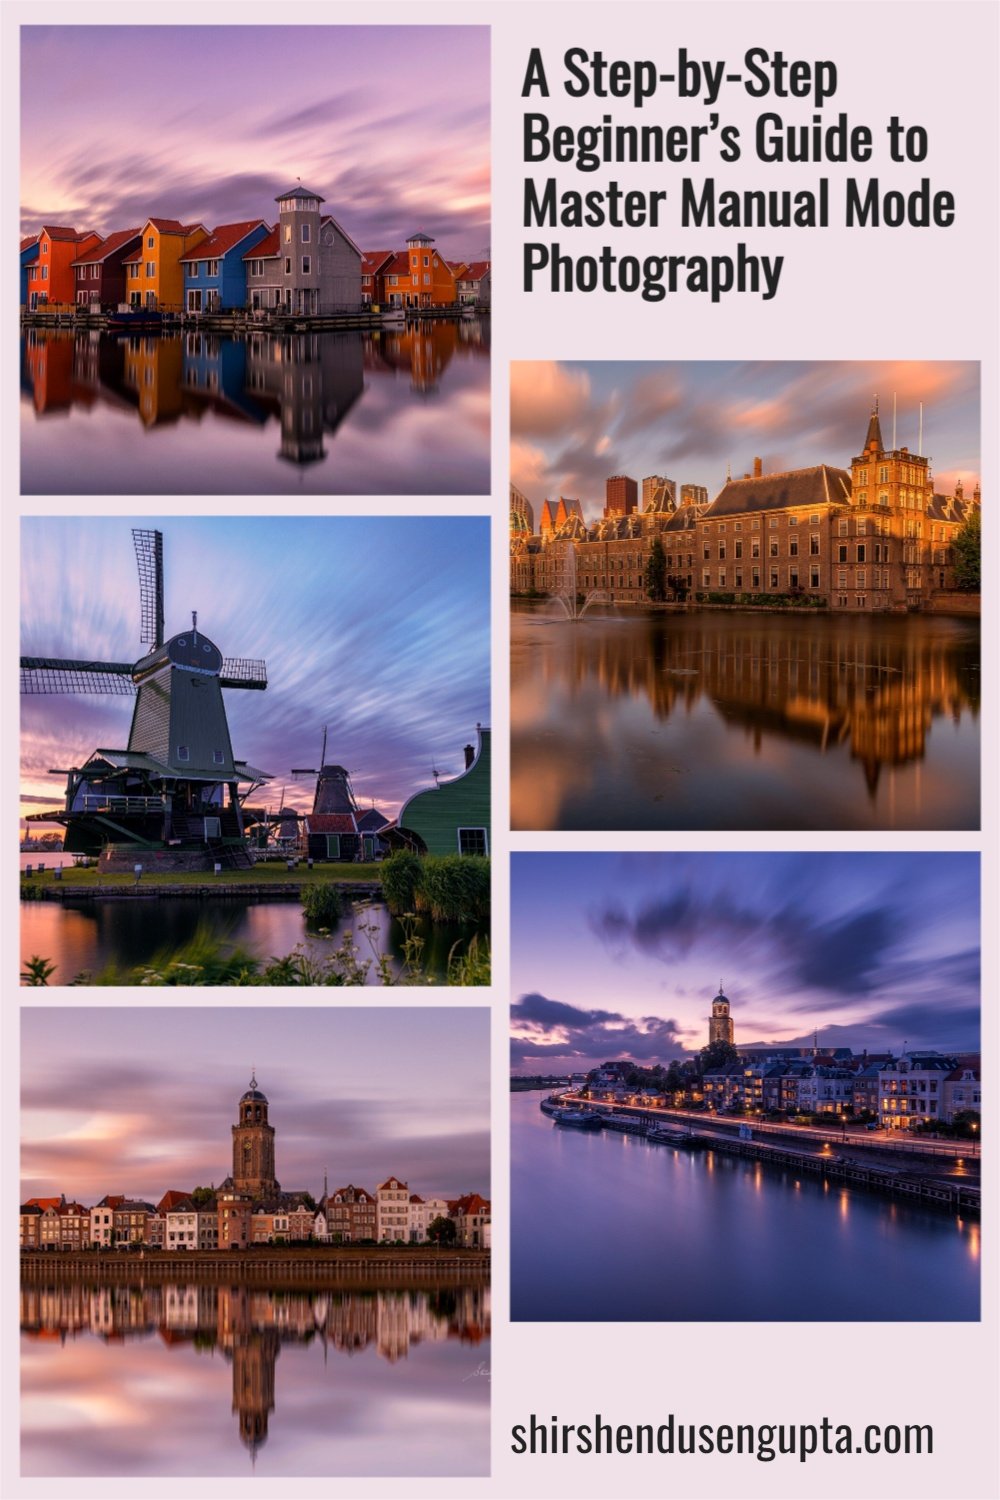
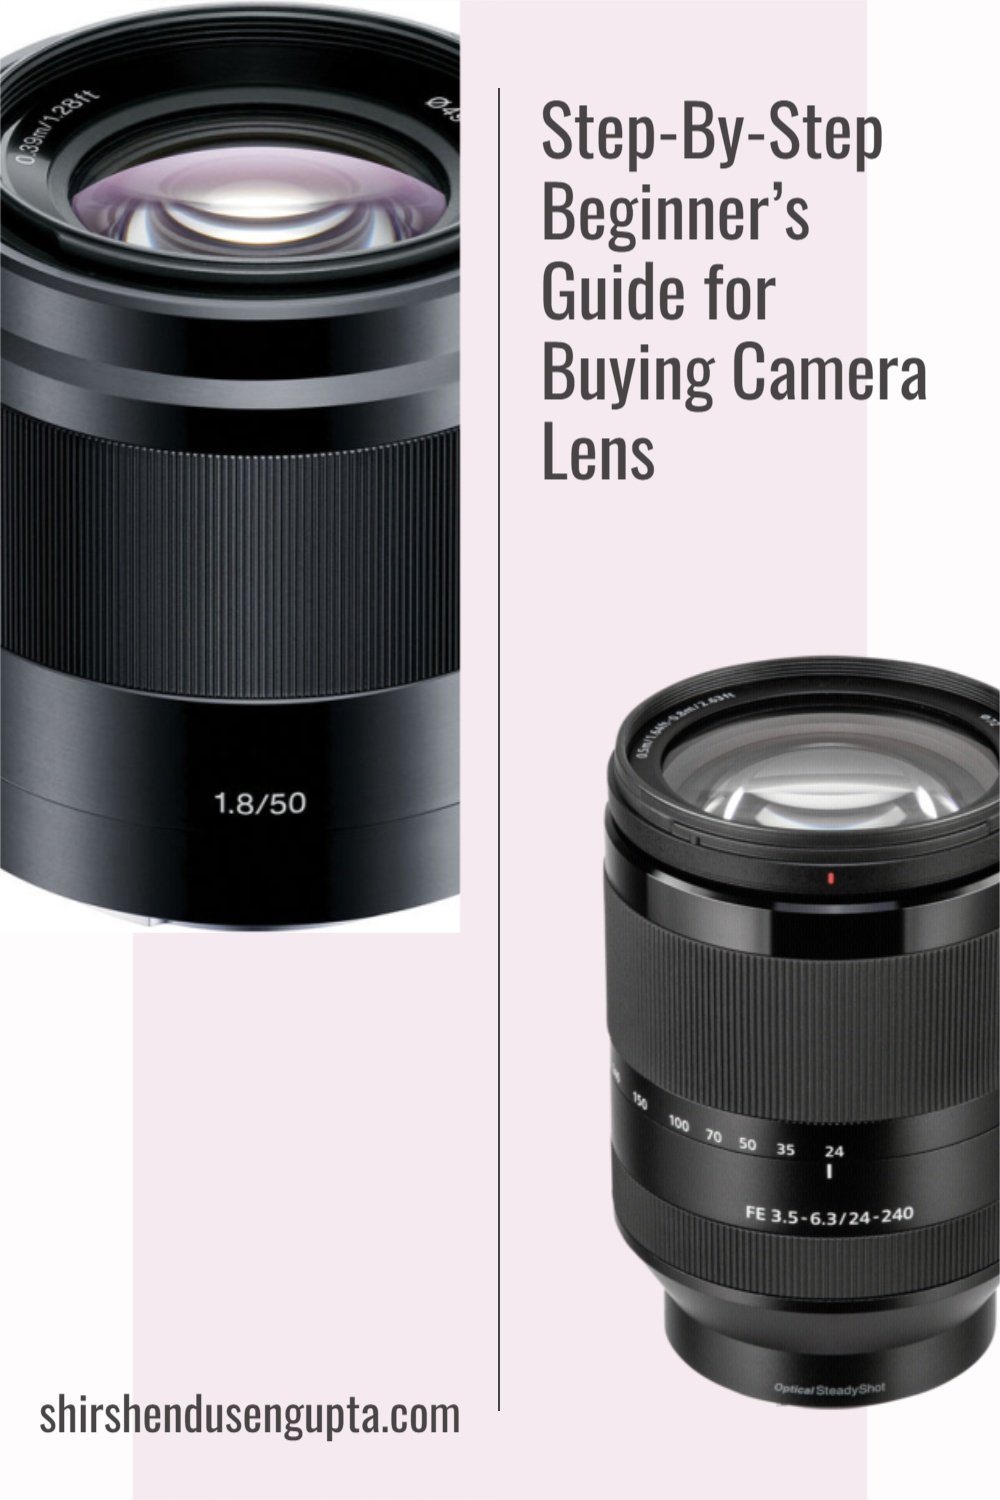
Step-By-Step Beginner’s Guide for Buying Camera Lens | How to Choose the Right Lens for Your Camera?

Prologue
Lenses are precious gifts; they are the eyes of the camera. So it’s imperative to treat them as preciously as you would treat your eye. Remember, different camera bodies may come with different sensor qualities, features, and ergonomics, but it is the glass that makes the most significant difference in the image quality. Now, choosing a lens can be the most tiring for some of us, especially with so many options all around. So, based on my experience of using numerous lenses for both half-frame and full-frame sensor DSLR and Mirrorless cameras over the past years, let me share some quick tips with you that I hope will help you make an informed and objective decision.
And if you want to know all the lenses that we are currently using or have previously used, please read the article Our Lenses and Filters.
What are the Different Categorizations of Lenses?
Categorization based on Zooming ability
1. Zoom Lenses
Description: As the name indicates, zoom lenses are lenses that have a zoom ring using which they can be zoomed in or out. In other words, zoom lenses have the ability to cover a wide range of focal lengths. Zoom lenses have multiple glass components inside them. Change in the relative distance between these glass components (coming close to or moving away from each other) upon rotation of the zoom ring creates the zoom-in or zoom-out effect. There is a minute amount of light loss at each of these glass components/surfaces, which leads to a slight lack of sharpness (softening) of the image compared to fixed focal length lenses (prime lenses). But the sharpness can be enhanced in post-processing in Lightroom or Adobe Camera RAW by applying additional sharpening.
Usage: Zoom lenses find a variety of uses from portrait to landscape to wildlife photography.
Size and Cost: Due to the complex design using multiple glass components inside the lens and the flexibility of not having to change multiple lenses to cover your needs, the zoom lenses tend to be on the bulkier and expensive side.
2. Prime Lenses
Description: Prime lenses are lenses with fixed focal lengths. In layman's terms, the lenses cannot be zoomed. It's made of two pieces of glass, one at the front and one at the back of the lens, which is the bare minimum number of glass components a lens can have. Therefore, the overall loss of light at the glass components/surfaces is very less, giving you a tack sharp image. However, this comes at the disadvantage of not having the flexibility of covering a wide range of focal lengths.
Usage: Prime lenses are mostly preferred for portrait photography.
Size and Cost: Due to the simple construction, most prime lenses are light and not very expensive.
Categorization based on Focal Length
Note: The focal lengths mentioned below are 35 mm (full-frame sensor) equivalents. The smaller the number, the wider the viewing angle. To convert them to APS-C (half-frame sensor) equivalents, divide them by a crop factor of 1.5. The concept of crop factor has been explained in detail later in this article.
1. Wide-angle Lenses
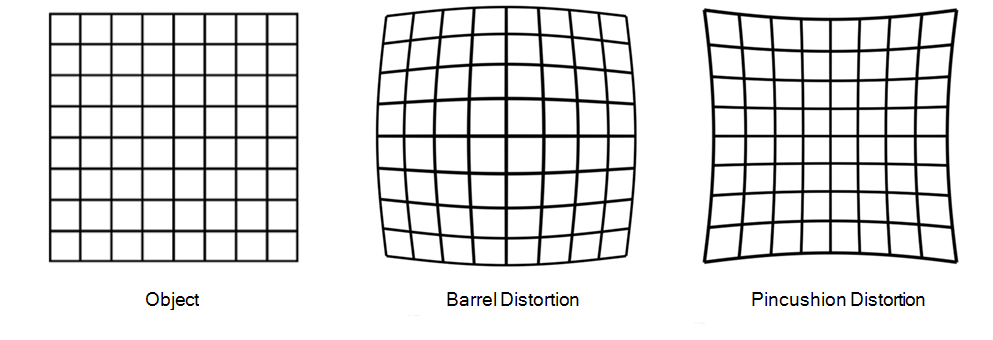
Description: As the name recommends, wide-angle lenses offer a wider field of vision. Their focal lengths usually range between 8 mm and 35 mm. The smaller the number, the wider the viewing angle and higher the barrel distortion (image tapering towards the left and right extremities making it look like a barrel). Ultra wide-angle lenses (8 mm to 24 mm) can give substantial distortions akin to the fish-eye effect. However, most of these distortions can be easily corrected in post-processing in Lightroom or Adobe Camera RAW by applying appropriate lens profiles. To know how to correct lens distortions in post-processing in Lightroom or Adobe Camera RAW, please read our article My Step-By-Step Photo Post-Processing Workflow | A Beginner’s Guide to RAW Photo Editing | Adobe Lightroom, Photoshop, and Nik Collection Tutorial.
The picture below shows the types of distortions images from wide-angle lenses undergo.
Usage: Wide-angle lenses fit several kinds of photography, from landscapes to cityscapes to architecture to team portraits.
Size and Cost: Wide-angle lenses are big and bulky due to many components needed to create the wide viewing angle and are on the expensive side. The general rule of thumb is, the wider the viewing angle, the higher is the cost.
2. Standard Lenses
Description: Standard lenses range from 35 mm to 85 mm and are known to mimic human vision in terms of perspective and field of view.
Usage: Standard lenses are popular for several photography lines.
Size and Cost: Standard lenses have a more straightforward design and therefore are not bulky and are moderately priced.
3. Telephoto Lenses
Description: Telephoto lenses allow you to photograph subjects far from you owing to more extended zoom reach. Telephoto lenses range between 85 mm and 2000 mm.
Usage: Short telephoto lenses (85 mm to 135 mm) are great options for portraits as they allow you to take pictures, standing further away from the subjects in contrary to the prime lenses I mentioned before, where you have to stand really close to your subject to shoot. Standard telephoto lenses (135 mm to 800 mm) are popular for sports or wildlife photography. Super telephotos (800 to 2000 mm) also find their use in astrophotography and surveillance.
Size and Cost: Telephoto lenses, especially the bigger ones (the bigger ones can actually look like a telescope), can be very bulky and expensive.
4. Superzoom Lenses
Description: Superzooms are a special variety of lenses that range from 24 mm to 600 mm, covering from wide-angle to telephoto ranges. Superzoom lenses have multiple glass components inside, which leads to a minute loss of light at each component resulting in a slight lack of sharpness (softening) of the image compared to fixed focal length lenses (prime lenses). Also, owing to their wide focal length coverage, they may exhibit some amount of barrel distortions at the long end (wider angles). However, that is compensated by the convenience it offers of not having to change lenses to cover your needs. And most of these distortions can be easily corrected in post-processing in Lightroom or Adobe Camera RAW by applying sharpening or appropriate lens profiles. To know how to correct lens distortions in post-processing in Lightroom or Adobe Camera RAW, please read our article My Step-By-Step Post-Processing Workflow | A Beginner’s Guide to RAW Photo Editing | Adobe Lightroom, Photoshop, and Nik Collection Tutorial.
Usage: Owing to its versatility, superzoom lenses find a variety of uses, from portrait to landscape to wildlife photography.
Size and Cost: Due to the complex design using multiple glass components inside the lens and the flexibility of not having to change multiple lenses to cover your needs, the superzoom lenses tend to be on the bulkier and expensive side.
Factors to Consider while Choosing a Lens
1. Sensor Type of Your Camera
The first thing you need to check before you start researching on a lens to buy is what sensor type you have in your camera, meaning is your camera a half-frame sensor (also called a crop sensor or APS-C sensor) or a full-frame sensor. You have to choose the lenses then accordingly. The lenses have labels that denote they are compatible with what sensor type (e.g., Nikon lenses having a label of DX means half-frame sensor lens and a label FX indicates that it is a full-frame sensor lens).
To explain simply, the area of a full-frame sensor is 1.5 times that of a half-frame sensor. Therefore, the area of the light entering the camera from a full-frame sensor lens meant to land on a full-frame sensor is also 1.5 times the area of the light entering the camera from a half-frame sensor lens that is meant to land on a half-frame sensor. So if you fit a half-frame sensor lens on a full-frame sensor camera, the light entering the camera from the lens will only land in the central part of the full-frame sensor and the resultant image will be a small image in the center of the frame with a blank white border. On the other hand, if you fit a full-frame sensor lens on a half-frame sensor camera, the light entering the camera from the lens will overshoot the size of the sensor and the resultant image will be the central part of your subject with the peripheral parts cropped. In other words, the half-frame sensor cameras have a crop factor of 1.5x, i.e., the frame captured by a half-frame sensor camera is 1.5 times smaller than a full-frame sensor camera.
The image below explains the differences between the image area of full-frame and half-frame sensor sizes very aptly.

2. Maximum Aperture of the Lens
Aperture is an essential element to consider when getting a lens. The aperture is the small hole in the lens through which the light enters. It is represented by an F-number on the lens that indicates how much light the lens lets through to the sensor. Remember, the smaller the F-number, the larger is the aperture. If you typically find yourself working more in low light, a lens with a broader aperture (meaning lower F-number) will be your best bet. Having a wider aperture will allow you to use faster shutter speeds when photographing handheld or quickly relocating subjects. Lenses with larger apertures also allow you to take pictures with low ‘depth of field’ (bokeh), which is the aesthetic quality of the out-of-focus background blur.
3. Vibration Reduction/Image Stabilization
Designed to decrease blur in photos, image stabilization can be an especially useful function when working in portable or in low light conditions. While it is a usual feature on more recent version lenses, it's worth checking to see if this function is offered on older model lenses. Image stabilization is indicated using the letters OSS (for Sony's Optical Steadyshot), VR (for Nikon's Vibration Reduction), IS (for Canon's Image Stabilization), OS (for Sigma's Optical Stabilization), or VC (for Tamron's Vibration Control).
4. Focusing
Autofocus is one more typical function available on both lenses and camera bodies nowadays, with most offering the choice to switch in between auto and manual focus. However, checking this feature gets important before buying a lens for some specific camera models which do not have a built-in autofocus motor like Nikon D3500 (or any camera in D3000 series) or Nikon D5600 (or any camera in D5000 series).
How to Choose the Right Lens for your Camera/Need?
So with so many choices all around how do you decide what type of lens would be best for you? As you can imagine, there is no black or white answer to this question. Though most of the websites on the internet leave it at “It depends on your need,” being a long-term user of full-frame and half-frame DSLR and mirrorless lenses and above all being a business consultant, I will try to provide you with four separate scenarios/use cases to help you decide better.
Scenario 1: If you are a Portrait/Fashion/Product Photographer
If you are primarily into portraiture, fashion or product photography, go for prime lenses with a bigger aperture (smaller F-number e.g. F1.4 or F1.8) for brilliant bokeh (blurring of background). Standard 50 mm F1.8 prime lenses are not very expensive, but the bigger the aperture (meaning smaller F-numbers like F1.4), the higher the prices get.
Scenario 2: If you are a Landscape/Architecture Photographer
Go for wide-angle lenses like 16 mm or 24 mm. Just like the prime lenses, the general rule of thumb is the but the bigger the aperture (meaning smaller F-numbers), the higher the prices get.
Scenario 3: If you are a Sports/Wildlife Photographer
If you are mainly shooting sports or wildlife from a long-distance and need very long-range zoom, you must go for telephoto lenses.
Scenario 4: If you are a Travel Photographer
If you’re photographing on the go, superzooms are for you. They provide you a wide array of focal lengths from wide-angle to telephoto. They are normally expensive but with one lens you can cover the entire range of focal lengths, thereby saving money on buying multiple lenses or saving yourself the hassles of changing lenses and missing the shot.
Buying which lens has been my biggest mistake?
Each one of us has made at least one decision in life based on the bad advice of a good friend and later discovered that he/she knows nothing about that subject once we start knowing a little about that subject. Under similar circumstances, I bought my first DSLR Nikon D3300 with an 18-55 mm and 55-200 mm combo kit (please note that these focal lengths are APS-C or half-frame sensor equivalents and need to be multiplied with a crop factor of 1.5 to convert them to 35 mm or full-frame sensor equivalents). Don’t do it! Let me tell you again. Don’t buy combo deals with kit lenses unless you are really pressed with budget and have no other option. You will waste your money as within a few months you will have to sell off your kit lenses as you will realize they are not the best in class to put it gently.
What lens do I suggest as the first lens for a beginner?
If you ask me, I think a beginner should start with a value-for-money lens which he/she can use for a long time (maybe forever) so that he/she doesn’t have to invest again very soon. Also should cover enough focal length range so that the beginner can focus on improving his/her photography skills instead of continuously changing lenses. That will lead to a fast and steep learning curve and also photography will be fun instead of being tiring!
So my recommendation for all beginners is to start with a superzoom. Honestly, I have always been a patron of superzooms, going against the entire photographer fraternity. As a business consultant, I've been trained to decide on trade-offs between constraints/convenience and quality and I know it is not easy. Of course, there will be a subtle difference in sharpness/quality with prime wide-angle lenses, but if you use the best quality (and expensive) superzooms, know how to perform detail extraction in post-processing and apply correct lens profile corrections to manage the barrel distortions at the long end, the difference isn't big enough to the untrained eye compared to the convenience that the superzooms offer. Because I travel a lot and with my wife and my kid, changing lenses can be a hassle at times. And that's where superzooms steal the show. My most sold, licensed, and published images in international magazines, newspapers, and journals are all shot by superzooms. In fact, some of them were also shot by superzooms on half-frame sensor cameras. So my beginner lens vote goes to Superzooms!
Epilogue
So that was a step-by-step beginner’s guide for choosing the right lens for your camera. But remember one thing. Whatever lens you buy, don’t expect it to miraculously change your photography in a day. You have to work towards it. As in Kung-Fu Panda, Po finally realized, "There's no 'Dragon Scroll'; it's just you," I genuinely believe it's not the gear but the one behind the gear who makes the world look beautiful. So, whatever lens you choose, the final image will always be a result of your composition skills, your understanding of optics, and your knowledge of your camera settings and usage.
Please let us know in the comments below if you enjoyed reading this article. And if you want to know all the lenses that we are currently using or have previously used, please read the article Our Lenses and Filters. Until then, merry traveling and happy shooting!
Pin the article
Bookmark the article for reading later!

Want us to write an article for you?
Articles for magazines, newspapers, and websites!
Watch our Videos
Check out our videos on our Youtube Channel!
Join the Newsletter
Get updates on our latest articles!
We respect your privacy. Read our policy here.