My Step-By-Step Photo Post-Processing Workflow | A Beginner’s Guide to RAW Photo Editing | Adobe Lightroom, Photoshop, and Nik Collection Tutorial
Prologue
Our readers often ask us about our photo post-processing workflow and the tools that we use for photo editing. To be honest, years back, when I started my photography journey, I trembled at even the thought of entering the dark and scary den of the monster named Photoshop. And today, I can proudly say I've tamed the beast along with a dozen other imaging apps to extract the most out of my photography. I now have a structured photo post-processing workflow comprising several tools and techniques. Today, I thought of sharing them with you so that you can take your first steps towards making the world look as beautiful as it is!
And to know more about or download the post-processing tools that we are currently using or have previously used, please read the article Our Post-Processing Tools.
My Step-by-Step Photo Post-Processing Workflow
1. Shoot RAW
I always shoot in RAW file format instead of JPEG format. A RAW file format is like raw vegetables. It has all the ingredients (light and shadow information) needed to cook a good image. So you must shoot in RAW, then open the RAW files in a basic RAW processing tool like Adobe Camera RAW or Adobe Lightroom and then use the available information in the image to cook the food as per your wish. Once cooking is complete, you can then serve it on the platter (save in JPEG format). On the other hand, a straight-out-of-the-camera JPEG file is like already cooked food. It is impossible to do much with it apart from adding some sauce or sprinkling salt (adjusting a little brightness or contrast). So I shoot RAW always and I insist you to do the same. To set up your camera for shooting in RAW mode, go into your camera settings and change the file format to ARW for Sony, NEF for Nikon, or CRW for Canon.
2. Convert the RAW file to DNG using Adobe DNG Converter (if needed)
Sometimes, Adobe Camera RAW or Adobe Lightroom may not recognize the RAW image's file format coming out of your camera. E.g., Adobe Camera RAW 9.1.1 (that comes as a plugin with Photoshop CS6) cannot identify the ARW file format from Sony. In such situations, you need to use a free software called Adobe DNG Converter to convert your RAW file to a universally readable RAW file format DNG (Digital Negative). There is no loss of data while converting RAW file to DNG. To know more about the Adobe DNG Converter or download it, please read the article Our Post-Processing Tools.
3. Perform Basic RAW processing of the DNG file in Adobe Lightroom
After converting the RAW file into DNG, I open/import it in Adobe Lightroom (you can also use another basic RAW processing software called Adobe Camera RAW that comes as a plugin within Adobe Photoshop).
Then I perform the following basic RAW processing steps -
1. Under ‘Basic’ Panel
Increase the ‘Exposure’ to brighten the image
Decrease ‘Highlights’ to retrieve details of the bright areas like the sky and the clouds
Increase the ‘Shadows’ to recover the details of the darker areas
Adjust the ‘Whites’ and ‘Blacks’ sliders to set the White and Black points (brightest and darkest points) of the image
I do not use contrast at this point since I use Nik Collection tools to add local (Viveza) and global contrast (Color Efex) later
I usually do not use the sliders ‘Texture,’ ‘Clarity,’ or ‘Dehaze’ unless I want to create a Dodge and Burn portrait with enhanced skin texture or remove haze from a foggy image
I never use the sliders ‘Vibrance’ or ‘Saturation’ in Lightroom; I color images using Nik Collection tools (Color Efex)
2. Under ‘Details’ Panel
Increase the global ‘Sharpness’ as necessary; I also apply local sharpening using Nik Collection tools (Presharpener) later
Apply ‘Masking’ to remove the sharpness from unwanted areas like the sky
Unless I’m shooting in High-ISO mode and have grains in my image, I do not use ‘Noise Reduction’ within Lightroom
3. Under ‘Lens Corrections’ Panel
Check ‘Remove Chromatic Aberration’
Check ‘Enable Profile Corrections’
Under ‘Lens’ section, select your lens manufacturer and model to apply the appropriate lens profiles; this removes the lens distortions. Also, if you compare with the previous image, the vignetting on the top left and right corners are also gone after applying the lens corrections.
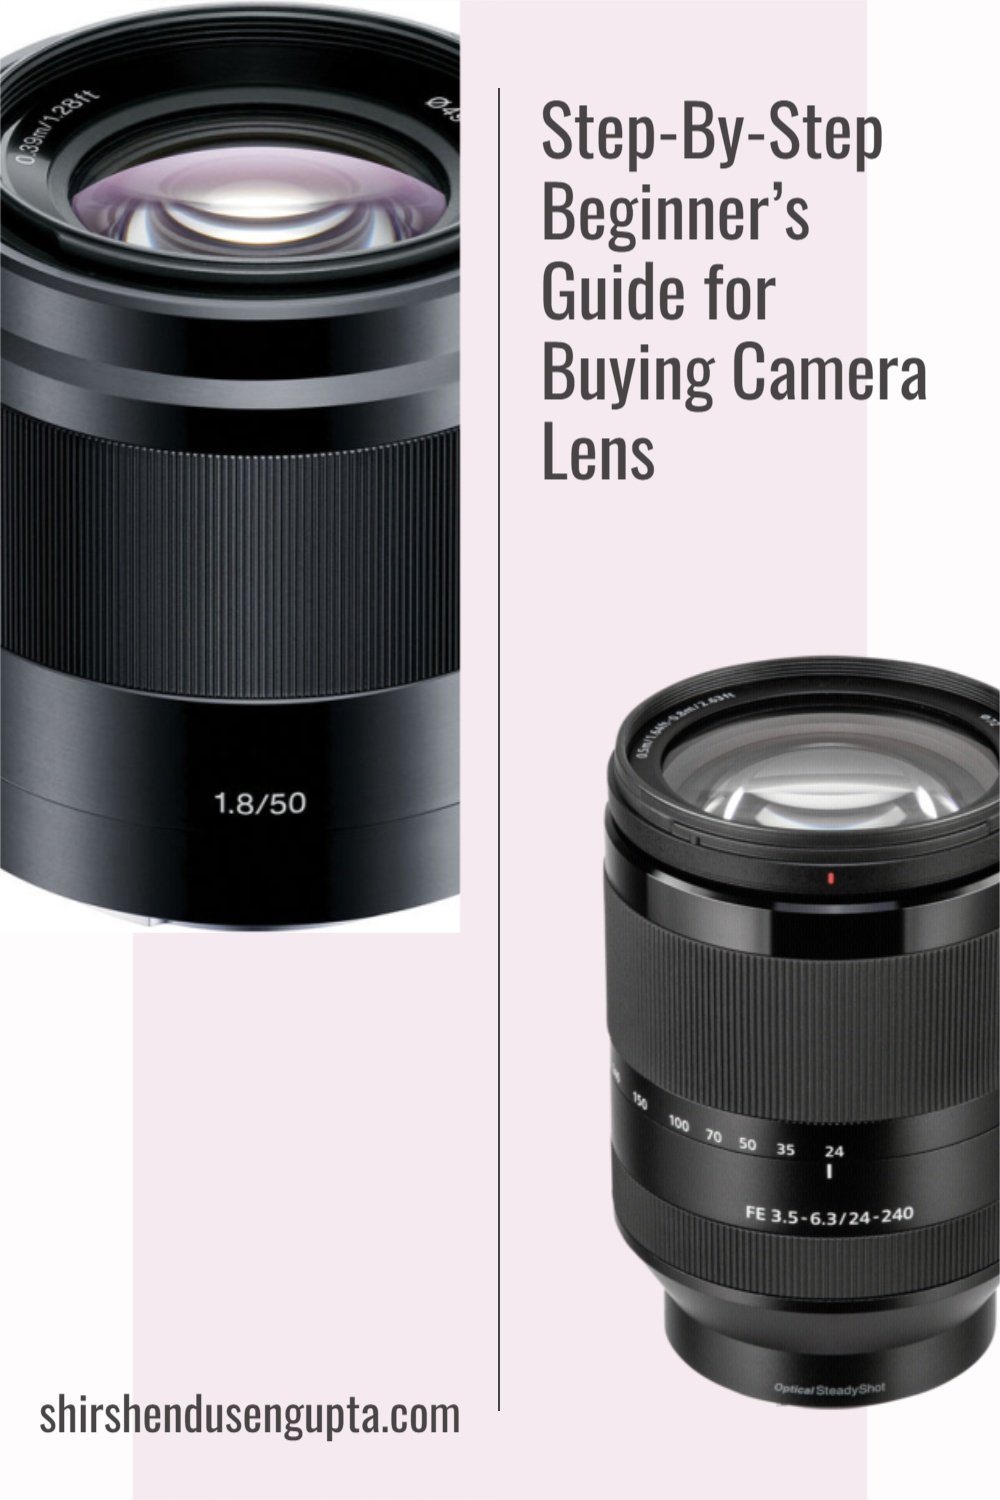
To know more about lens distortions please read our article Step-By-Step Beginner’s Guide for Buying Camera Lens | How to Choose the Right Lens for Your Camera?
4. Click on ‘Crop Overlay’
Crop and Straighten the image as deems fit. For this image, no cropping or straightening was necessary.
4. Send the file to Adobe Photoshop
Once the basic RAW processing is completed in Lightroom I send it to Adobe Photoshop by clicking on ‘Photo’ in the top menu bar -> ‘Edit’ -> ‘Edit in Photoshop 2021…’
5. Add Viveza Filter Layer (Nik Collection Tool) in Photoshop for Selective Light and Color Adjustment
Once the image opens up in Photoshop, click on ‘Filter’ in the top menu bar -> ‘Nik Collection’ -> ‘Viveza’ to open up the image in Viveza.
6. Perform Selective Light and Color Adjustment in Viveza (Nik Collection Tool)
In Viveza, add control points on the areas on which you want to perform selective light or color adjustment, play with the sliders to get the desired result and then click on ‘Apply’ to apply the changes. For this image, I opened up the ‘Shadows’ on the stones, increased ‘Structure’ to reveal the details, and added ‘Contrast’ for the stones to pop out.
Note: You can also use the adjustment brush in Lightroom for the same purpose, but I find Viveza control points do a more precise job than the adjustment brush in Lightroom.
7. Add Color Efex Filter Layer (Nik Collection Tool) in Photoshop for Additional Color Effects
Once you click on the ‘Apply’ button in Viveza, the changes are applied as a layer named ‘Viveza’ and the image opens back in Photoshop. Again, click on ‘Filter’ in the top menu bar -> ‘Nik Collection’ -> ‘Color Efex’ to open up the image in Color Efex.
8. Apply Additional Color Effects in Color Efex (Nik Collection Tool)
In Color Efex, add the filters you want, apply them globally or locally using control points, play around with the sliders to get the desired effects, and then click on ‘OK’ to apply the changes. To me, this is the step where all the magic happens. And this is also the step where I adjust the contrast of the image for the first time. For this image, I added ‘Polarization’ to polarize the sky, added ‘Darken/Lighten Center’ to lighten the stones and darken the surroundings, played around with the ‘Pro Contrast’ and ‘Tonal Contrast’ filters, added a ‘Graduated Neutral Density’ filter, added some ‘Brilliance/Warmth’ to the overall image and finally enhanced the sunrays with the ‘Skylight Filter.’
9. Add Presharpener Filter Layer (Nik Collection Tool) in Photoshop for Selective Sharpening
Once you click on the ‘OK’ button in Color Efex, the changes are applied as a layer named ‘*Nik Collection*’ and the image opens back in Photoshop. Again, click on ‘Filter’ in the top menu bar -> ‘Nik Collection’ -> ‘Presharpener’ to open up the image in Presharpener.
10. Perform Selective Sharpening in Presharpener (Nik Collection Tool)
In Presharpener, add control points on the areas on which you want to perform selective sharpening, play with the sliders to get the desired result and then click on ‘OK’ to apply the changes. For this image, I only sharpened the stones to get the details out.
Note: You can also use the adjustment brush in Lightroom for the same purpose, but I find Presharpener control points do a more precise job than the adjustment brush in Lightroom.
11. Add Dfine Filter Layer (Nik Collection Tool) in Photoshop for Selective Noise Reduction
Once you click on the ‘OK’ button in Presharpener, the changes are applied as a layer named ‘*Nik Collection* (1)’ and the image opens back in Photoshop. Again, click on ‘Filter’ in the top menu bar -> ‘Nik Collection’ -> ‘Dfine’ to open up the image in Dfine for selective noise reduction. Since this image was not shot at high-ISO, it did not have much noise and hence did not need noise reduction.
12. Perform Selective Noise Reduction in Dfine (Nik Collection Tool)
In Dfine, add control points on the areas on which you want to perform selective noise reduction, play with the sliders to get the desired result and then click on ‘OK’ to apply the changes. For this image, I did not apply selective noise reduction, as the image did not have much noise.
Note: You can also use the adjustment brush in Lightroom for the same purpose, but I find Dfine control points do a more precise job than the adjustment brush in Lightroom.
13. Perform Additional Adjustment in Photoshop
Now it’s time to perform some additional adjustments in Photoshop like spot-fixing for instance. In this image, I had spots in the sky due to sensor dust which I removed using the ‘Spot Healing Brush Tool’ in Photoshop.
14. Provide Finishing Touches in Lightroom
Right-click on the layers and select ‘Merge Visible’ to merge all layers. Then go to ‘File’ on the top toolbar -> ‘Save As’ and then save as a TIFF file. Open the TIFF file in Lightroom and provide finishing touches if necessary. For this image, I adjusted the ‘White Balance’ at this stage and applied a ‘Graduated Filter.’
15. Apply Signature in Photoshop
Open the TIFF file back in Photoshop, apply your signature using a signature brush preset (if you have one) and save the file as JPEG. And voila, your final image is ready!
Here is a side-by-side comparison of our starting and finishing images.
16. Resize the image in FastStone Photo Resizer for SEO
If you want to upload the image on your website, you need to reduce the resolution and file size of your image so that your web page loads faster. This will help in your Google SEO (Search Engine Optimization) as Google penalizes websites (reduces website rankings) that load slowly. For that, there are many image resizers in the market, but the one that I found does the best job of resizing the images without degrading the quality, is FastStone Photo Resizer. So install FastStone Photo Resizer, open the image there and resize the image with the following settings for faster loading time on your website without impacting the quality of your images.
Epilogue
So that was my step-by-step photo post-processing workflow. But remember one thing. Whatever software you use for post-processing, nothing can fix a badly composed image. Hence, post-processing is a means to extract the most out of your image but that starts with the image itself. Hence, spend more time honing your photography skills, to begin with, and in parallel take baby steps towards learning post-processing.
Please let us know in the comments below if you enjoyed reading this article. To know more about or download the post-processing tools that we are currently using or have previously used, please read the article Our Post-Processing Tools and to know about our step-by-step video post-production workflow, please read our article The Ultimate Step-By-Step Video Post-Production Workflow | A Complete Beginner’s Guide to Streamlined Video Editing Process | Da Vinci Resolve Tutorial. And if you are looking to create flyers to expand your reach, increase brand recognition, and cultivate a rapport with your target audience, you may want to explore the series of mind-blowing free editable flyer templates by Adobe Express. You can use them to create impactful flyers by adding a striking headline, an attention-grabbing call to action, and pertinent content like dates and contact information. Until then, merry traveling, happy shooting, and mind-blowing post-processing!
Pin the article
Bookmark the article for reading later!
Want us to write an article for you?
Articles for magazines, newspapers, and websites!
Watch our Videos
Check out our videos on our Youtube Channel!
Join the Newsletter
Get updates on our latest articles!
We respect your privacy. Read our policy here.


